The Group dashboard and multi-entity management capabilities in Payhawk allow you to manage your employees on a group level.
The Employees view
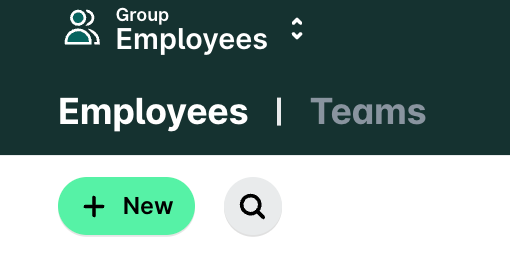
To access all your employee data in a centralized view, hover over the Group dashboard and click on Employees.

Group administrators can filter different views of their employees based on their status through the All, Active, and Invited tabs.

The Employees board also displays further information regarding:
The name of the employee.
The teams they are part of.
The entities they are part of.
Their roles in the respective entities.
The status of their account.

Employees can be part of multiple teams and entities and have different roles within different entities.
Inviting and assigning group roles to employees
If you manage your team at the group level, you can avoid the manual adding of managers separately to each entity. From your Group Payhawk account, you can invite employees to the group and assign them a role that will apply to all entities included in the group.
From your Group Payhawk account, you can also assign an employee different roles for the different entities depending on your company’s workflows and expectations from that employee.
To invite an employee at the group level:
Navigate to your Group Payhawk account and go to Employees.
Click on New.
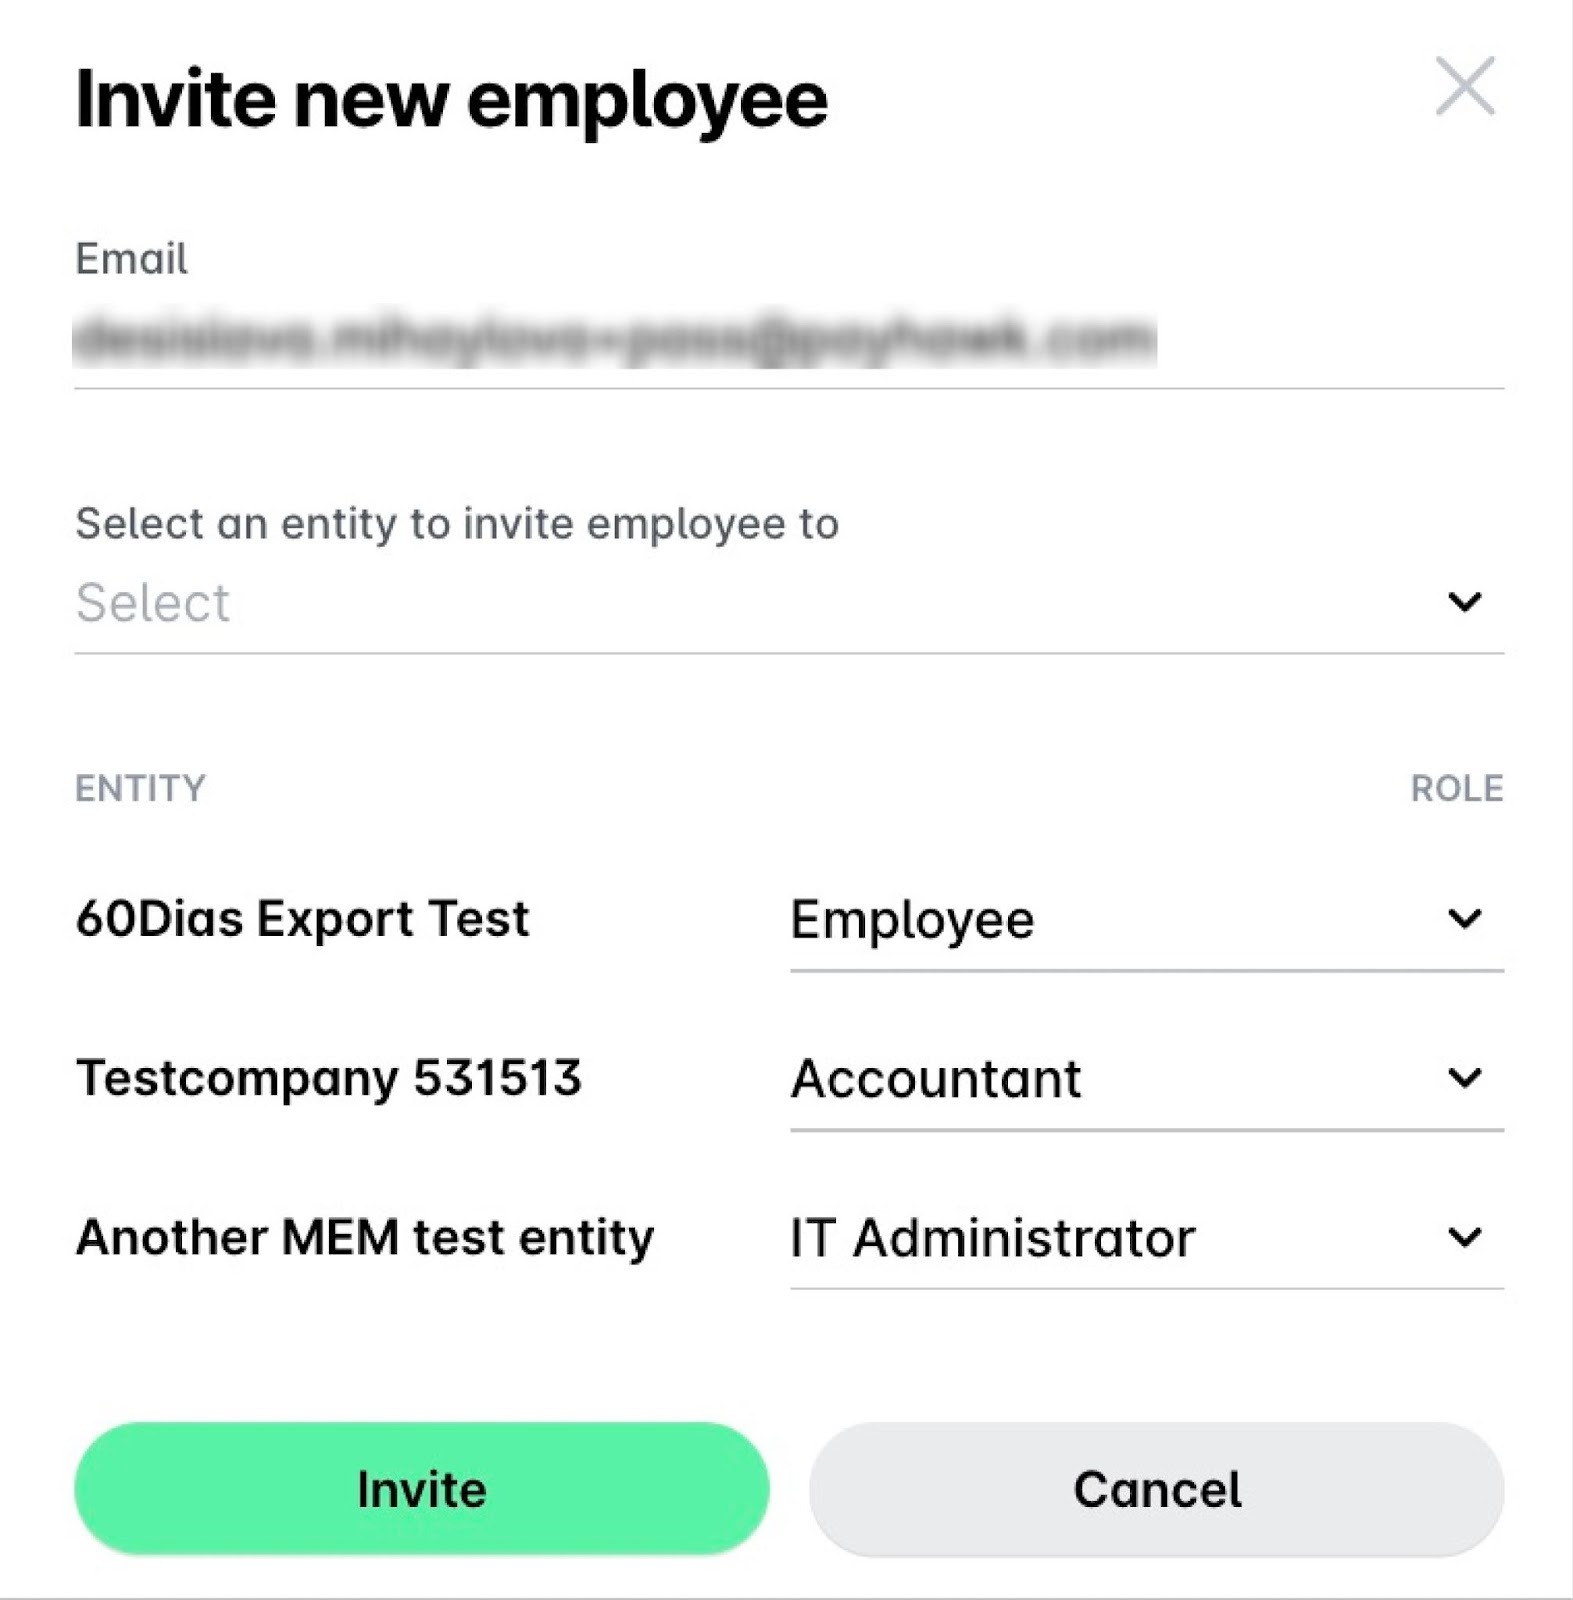
On the next screen, enter the employee’s e-mail address.
To assign a group role to an employee for all Payhawk entities within the Payhawk group account:
From the drop-down list of Payhawk entities, select the Payhawk Group entity account.
Define the role for the employee. As a result, this role will be automatically applied to all entities within the group.
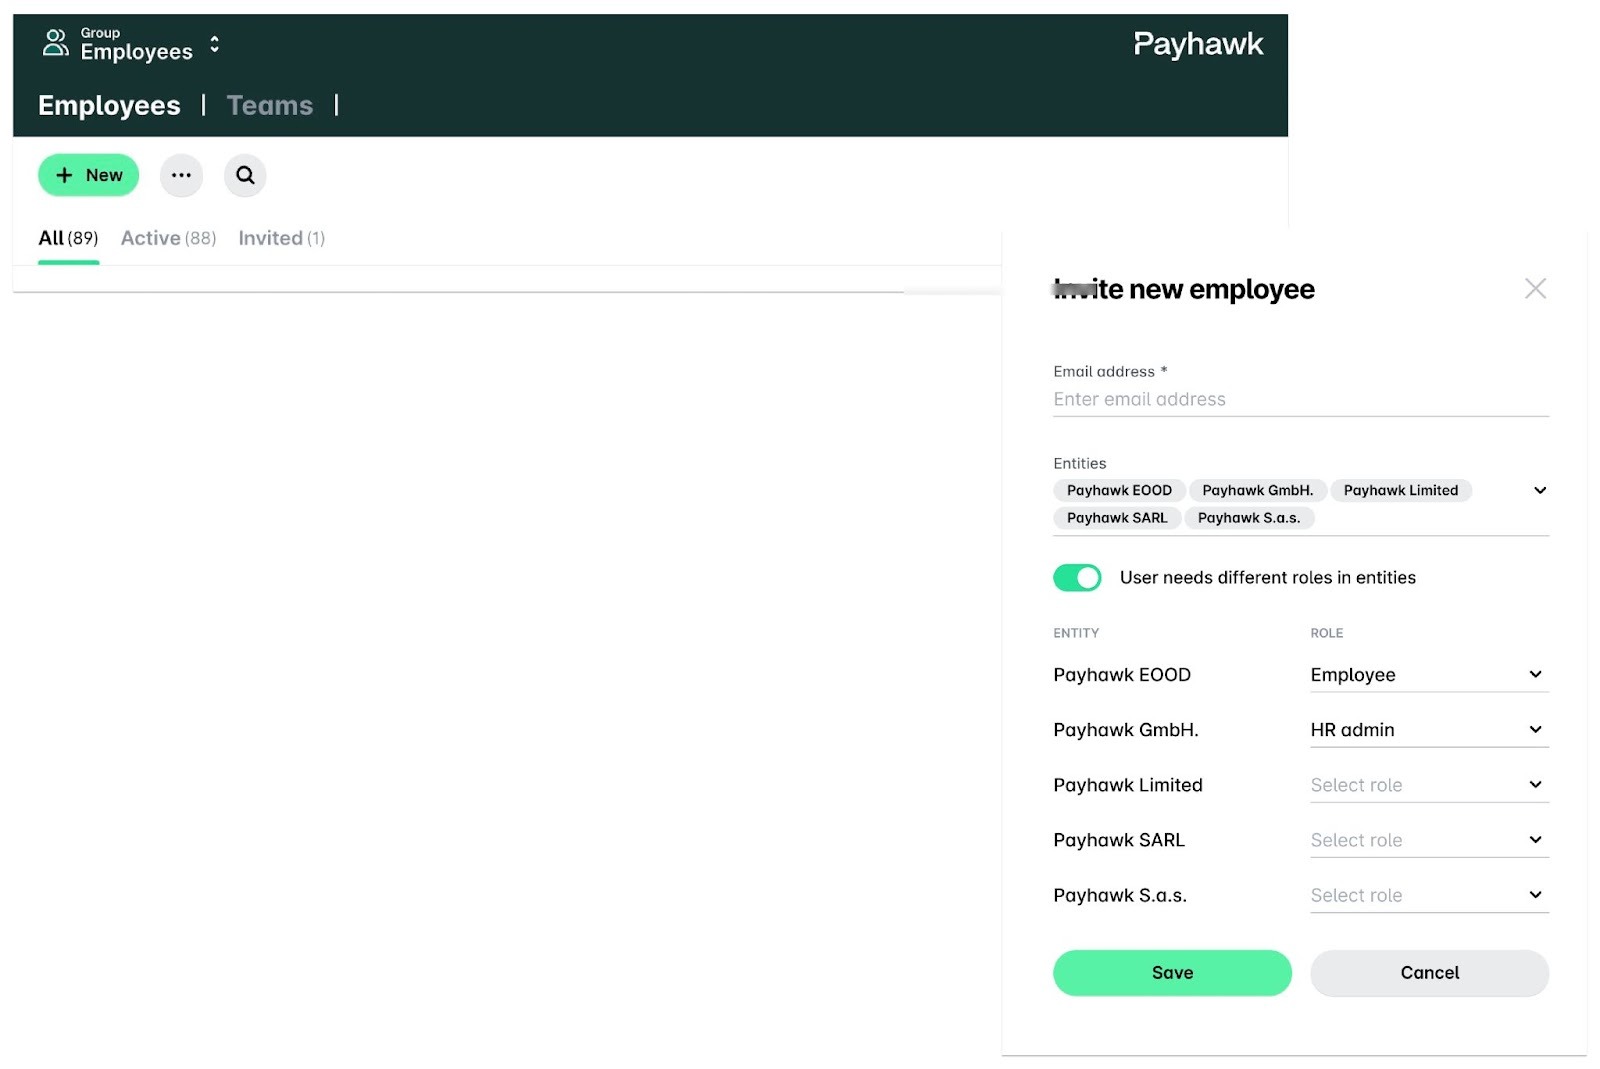
To assign individual roles to an employee for individual entities within the group:
From the drop-down list of Payhawk entities, select the entity to which you want to invite the employee.
Define the role of the employee for that specific entity.
To add the employee to other entities within the group and define their roles for each, follow the same steps.
3. Click on Invite.
Editing employee details
In the group settings, you can assign employees to specific entities, update their roles, and either apply a unified external ID across all entities or assign a unique ID to each one.
Group Payhawk Administrators can be edited at the group level only.
Go to Group dashboard > Employees.
Select the desired employee and click on Edit.
From the Entities drop-down, select the companies to which you want to assign the employee.
To set a unique external ID for the employee for each entity, switch on the External ID toggle and fill in the information.
To have the same external ID for the employee across all your entities, leave the toggle off and fill in the ID.
Click on Save.

Removing employees
You can remove employees from all entities they are part of.
Removing an employee at the group level removes the employee from views across Payhawk but their previous actions, such as card transactions and submitted expenses, will be preserved in the system and visible in the respective All view.
Group Payhawk Administrators can be removed at the group level only.
Go to Group dashboard > Employees and select the desired employee.
Click on the three-dot menu and select Remove employee.
In the dialog that opens, if the user has cards with recurring payments, choose how to handle these cards:
Select the Block reassignable cards and close the rest option if you want to block the cards that can be reassigned and to close the rest of the cards for that user. You can then manage reassignable cards on entity level through the pending task Reassign or close cards in your Dashboard. After you click on the pending task, you’ll get redirected to the Cards app with all cards that need to be reassigned. You can manage the cards one by one.
Select the Close all cards now option, if you want to close all cards permanently.
Confirm your choice and click on Remove.
