As a Payhawk Administrator, you can configure travel policies and approval workflows for trip requests in the Payhawk Web Portal.
Travel policies define the rules employees must follow when submitting trip requests, such as budget limits, allowed booking options, and out-of-policy flagging. Approval workflows define what happens next: the steps, approvers, and conditions that determine how each request is reviewed and approved.
Based on these settings, the Travel AI Agent collects the required details from employees, displays available options (flagging out-of-policy choices), and triggers the approval workflow.
Supported travel policies
By default, Payhawk suggests a travel policy, which you can modify according to the requirements of your company. Once you configure the desired travel policy, it will apply to your entire company or group of entities.
If your company has negotiated hotel rates Payhawk, they will be fully compatible with your travel policy. Negotiated rates will be applied automatically during hotel searches and employees do not need to take any action or enter any codes. Policy rules such as budget limits and approval requirements continue to apply as usual, regardless of whether the employee selects a negotiated or public rate.
Flights
You can define the following flight details in your travel policy:
Preferred airlines, for example, Lufthansa and British Airways.
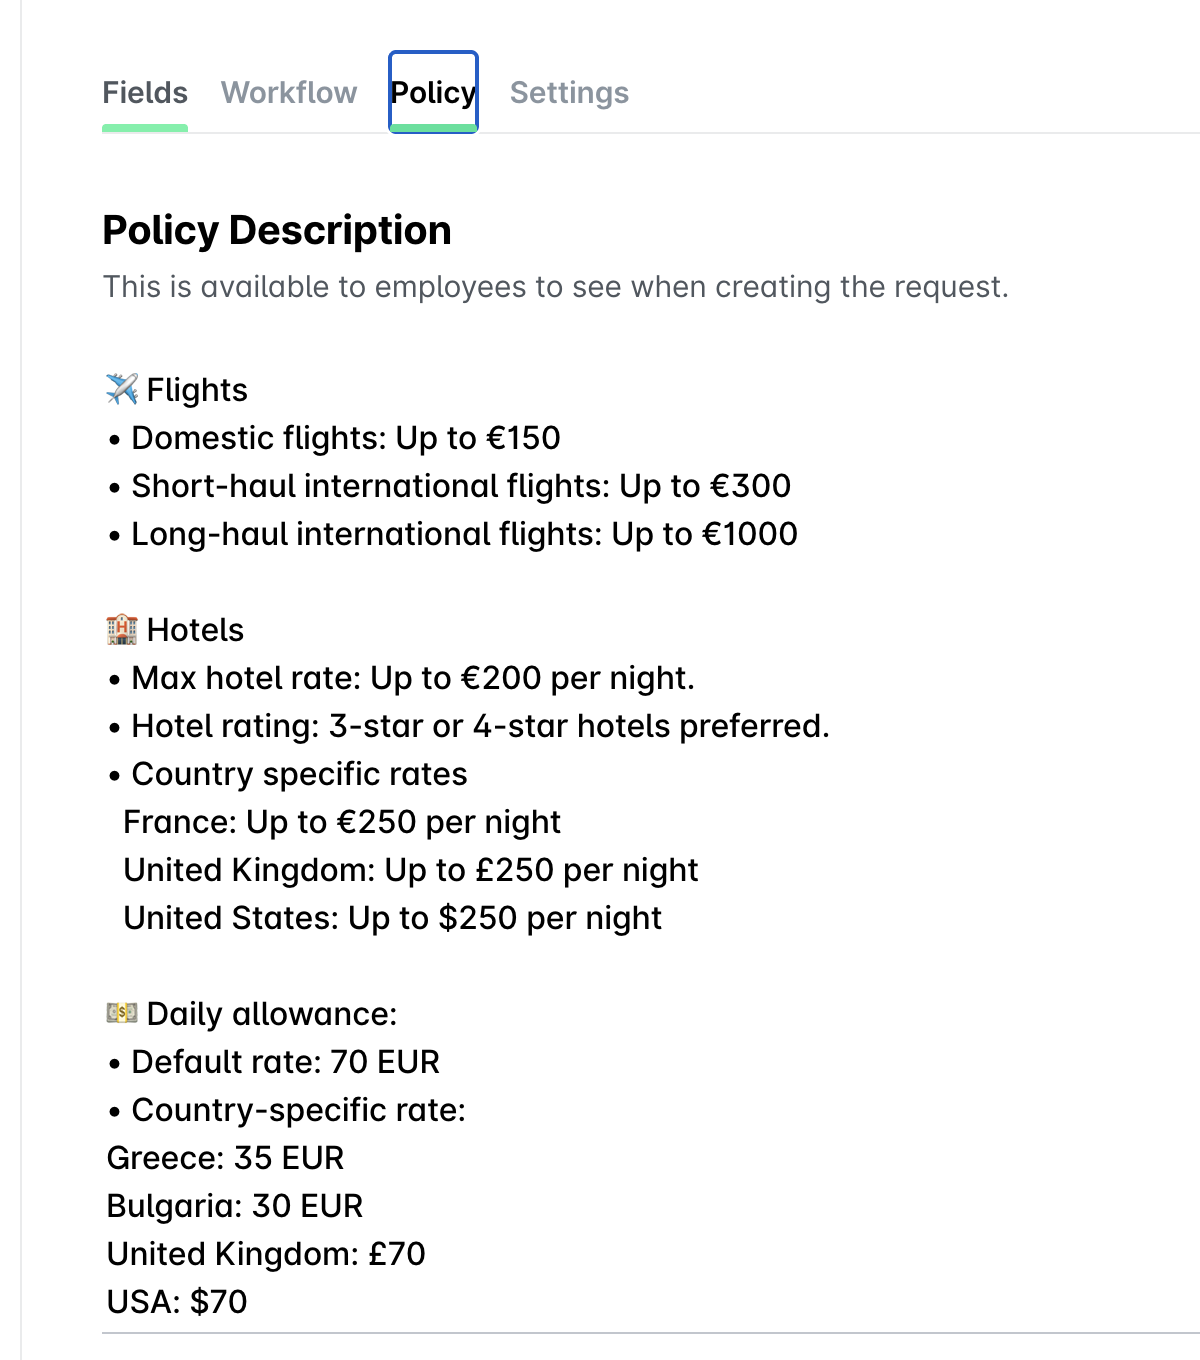
Maximum budget for domestic flights, for example, up to EUR 150, where domestic flights are the ones within the same country.
Maximum budget for short-haul or long-haul international flights, for example, up to EUR 300 for the former and up to EUR 1000 for the latter.
If the flight is within the same region and the total airborne time across all segments is up to 7 hours, it's considered a short-haul flight. A long-haul flight in the same region is more than 7 hours of total airborne time.
If the flight is across different regions and the total airborne time across all segments is up to 6 hours, it's considered a short-haul flight. A long-haul flight in different regions is more than 6 hours of total airborne time.
Hotels
You can define the following hotel details in your travel policy:
Maximum hotel rate, for example, up to EUR 200 per night.
Preferred hotel ratings, for example, 3-star or 4-star hotels only.
Country-specific rates, for example, up to EUR 250 per night in France or up to GBP 250 per night in the United Kingdom.
Daily allowance
The daily allowance is a per-day budget that covers meals and transportation expenses during a trip, added to the employee's card limit on top of the hotel and flight budget. When a trip request is approved, the card limit increases by the daily allowance amount multiplied by the number of trip days. For example, if the daily allowance is €50 and the trip is 4 days, the card limit increases by €200 on approval. The employee can spend the full allowance from the moment of approval until the last day of the trip. Any unspent amount is removed from the card limit when the trip ends.
You can configure the allowance as part of your travel policy. The allowance setting supports the following options:
Disabled - No allowance is included in trip requests.

Enabled with limit - An allowance is added automatically to every trip request, up to the amount you define in the policy.

Enabled without limit - An allowance is added automatically with no cap on the amount of the trip request. When enabled, the allowance is applied to trip requests by default based on the policy configuration. Travelers can adjust the allowance amount on their individual requests if needed.

Configuring travel policies
To configure travel policies:
Go to Settings > Trips > Travel > Policy tab.
Under Policy Description, enter the desired details of your company travel policy in plain text format defining policies for booking flights and hotels, and daily allowances.
Click on Save changes.