Payhawk supports a native integration to Embat and provides you with the flexibility to easily export and sync your transactions between the two systems.
Initial interaction between Payhawk and Embat
By connecting Payhawk to Embat, you allow the following:
Embat will display a single account with all consolidated movements coming from Payhawk.
All transactions that impact your Payhawk account balance will appear in real time, including top-ups, withdrawals, card transactions, and invoice payments by bank transfer.
Each movement is clearly identifiable by its associated card or source, allowing you to track and monitor the origin of every transaction in your account, even though cards aren’t displayed as separate entities.
Connecting to Embat
To start connecting your Payhawk account to Embat, follow the steps:
In the Payhawk web portal, go to Settings > Integrations.
Under Available integrations, find API Integration and click on Connect.
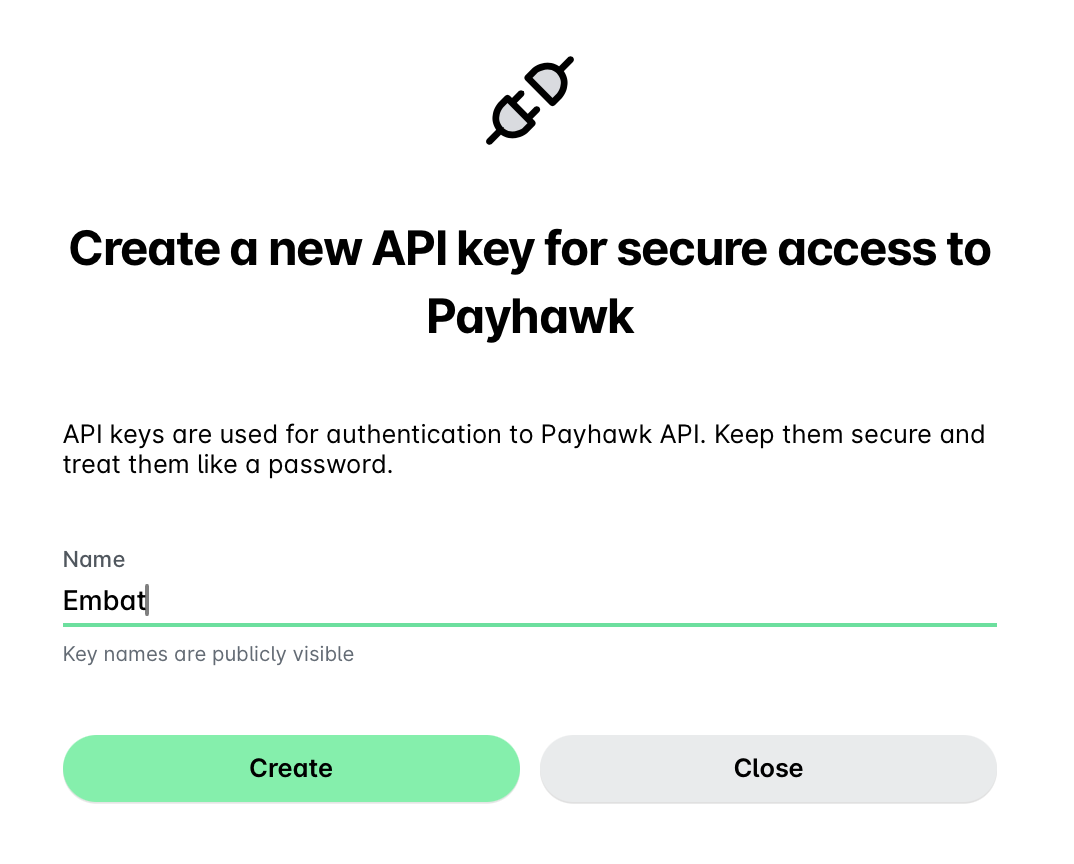
Enter the name you want to give to the API key, for example Embat, and click on Create.
On the next screen, you’ll see the API key to be used in the configuration process in your Embat account. Click on Copy.
Follow the link to access your Embat account and log in by entering your credentials (email address and password).
Click on Banking Console.
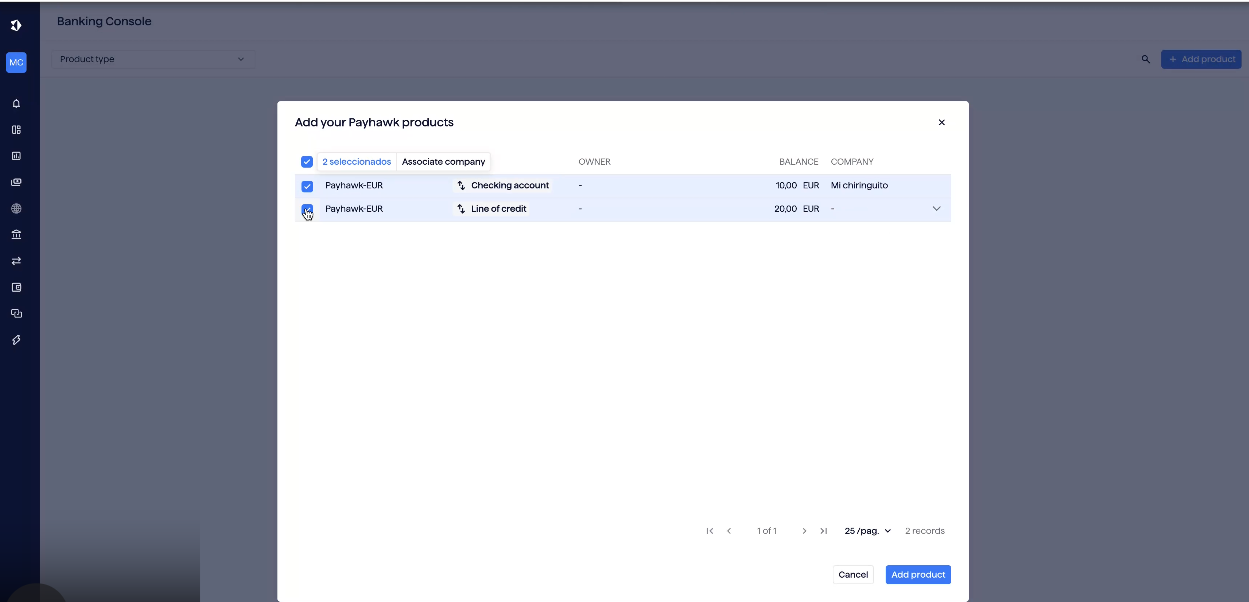
Click on Add product and select Payhawk.
Click on Connect and enter the API key you copied in step 4.
Add the initial balances of the products by clicking on each row in the balances column and entering the available balance shown for each Payhawk product.
Add the company to which each product belongs and select Add products. As a result, the products will appear in your Banking Console.
Notes on synchronization
Payhawk synchronizes transactions automatically once per day during the night. You can also trigger on-demand sync at any time by clicking the Refresh button in your Payhawk account.
You can view transactions from the last 7 days under the Banking section in your Embat account. Payhawk shows only the transactions, not the individual expense receipts as separate entities.