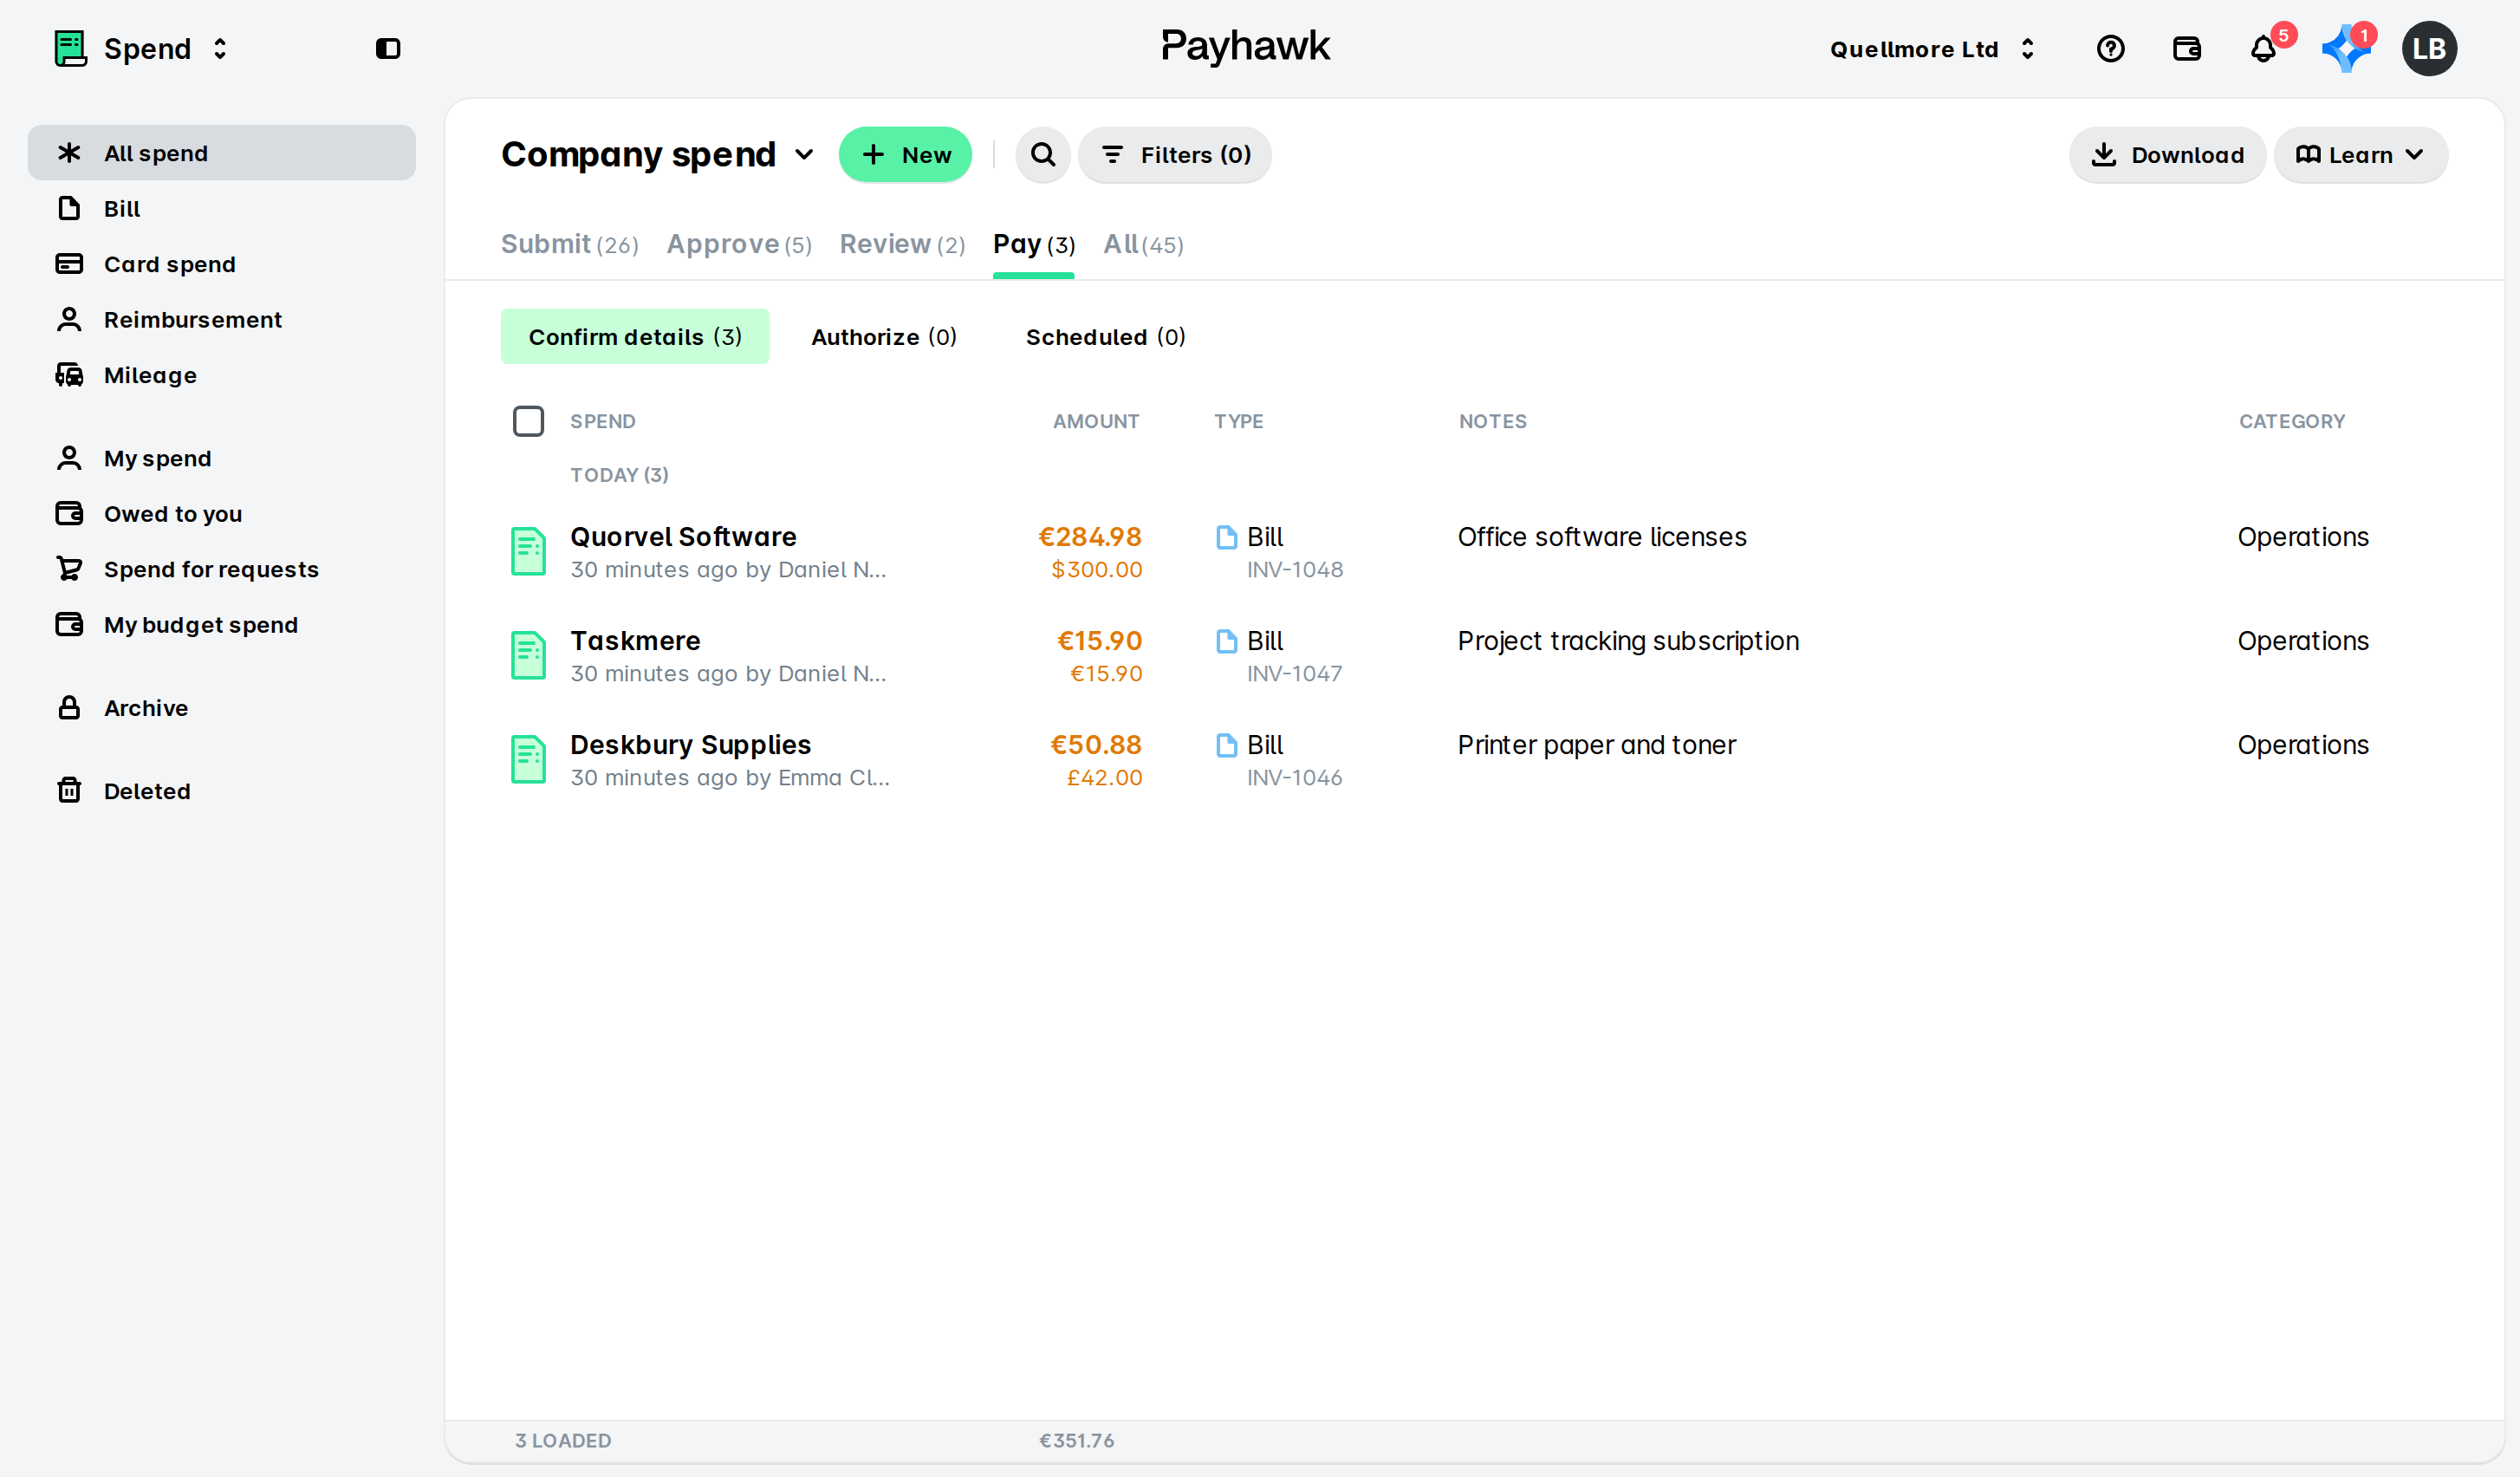
Once global payments are available for your account, you’ll be able to pay international suppliers by adding their details, selecting the currency, and authorizing the payment directly in Payhawk.
Depending on whether the supplier already exists in the system, you can either update the payment details of an existing one to correspond to the currency of the supplier invoice or create a new supplier to whom you will be sending money globally.
Once the supplier has been added, it can be used for any submitted expenses, just like any other supplier in Payhawk. The expense will follow the standard expense lifecycle, and after it has been reviewed and all details are confirmed, you can authorize and pay it in the same way you would with any other expense.
Filling in supplier bank details from the invoice
For a new supplier you pay through global payments, Payhawk reads the bank details from the invoice and fills them in for you, namely:
The supplier's name and address
The account number or IBAN
Local bank codes (for example, the BSB in Australia, the ABA routing number in the US, or the CLABE in Mexico)
The BIC or SWIFT code
The tax number (for example, the CNPJ in Brazil)
The contact details
To add a new supplier with the bank details from the invoice:
In the Payhawk Web Portal, go to Spend.
Click on + New, select Bill, and upload the supplier's invoice.
Open the expense. Under Add supplier, choose the supplier type.
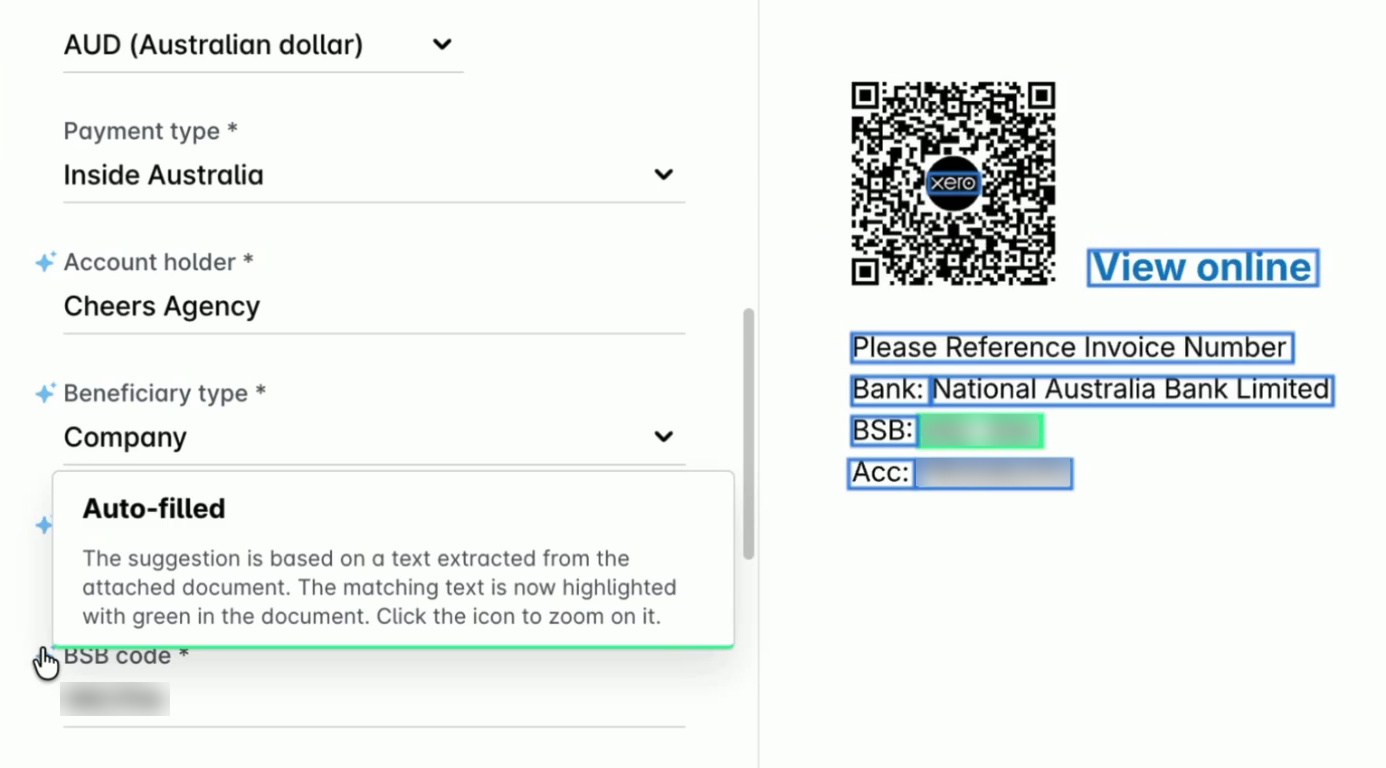
Check the filled-in details against the invoice. Fields that Payhawk filled in have a sparkle icon next to their name. Hover over the icon to see the matching text highlighted in green on the invoice, or click on the icon to zoom in on that text.
Save the supplier.
When you confirm the payment details of the bill, Payhawk also fills in the following fields:
Reference - Payment references, such as the Norwegian KID number, exactly as they appear on the invoice.
Purpose of payment - Suggested from the items on the invoice, or taken from your last payment to the same supplier. Check that it still applies.
Remittance advice email - The supplier's email address from the invoice.
Payhawk doesn't send the payment until employees with the required permissions at your company confirms the payment details. The forms for local EUR and GBP payments stay the same.
Useful links