If you have a mass of custom fields you need to import from your existing system directly to Payhawk or if you need to export all your fields from Payhawk, you can do it quickly with the automated options for bulk import and export.
Bulk import of fields to Payhawk
If you have a huge number of expense filed values to import, you can add them at once by uploading an Excel file and importing them in bulk:
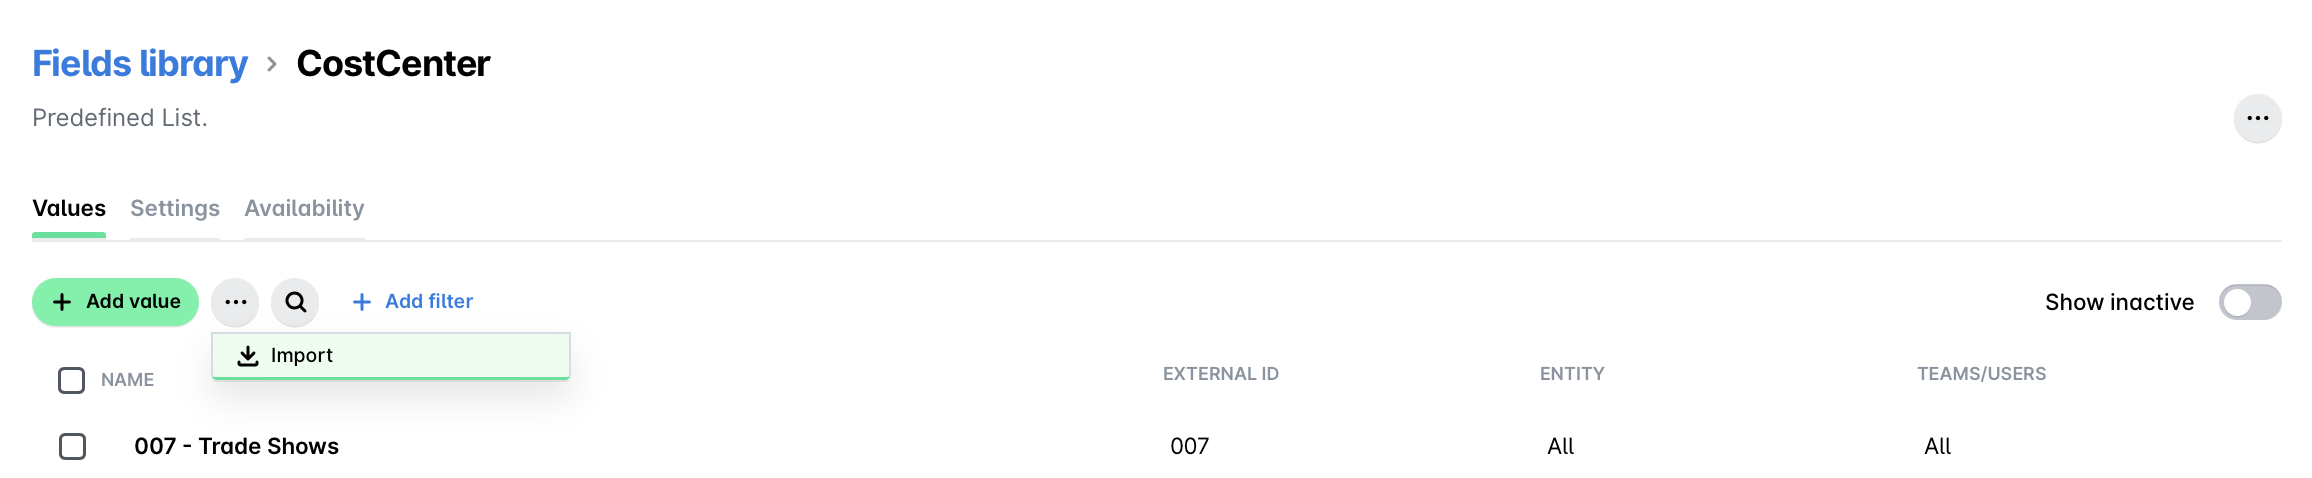
Go to the Settings > Fields library.
Select the desired field by clicking on it. For this example, use Cost center.
Click on the three dots menu and select Import.
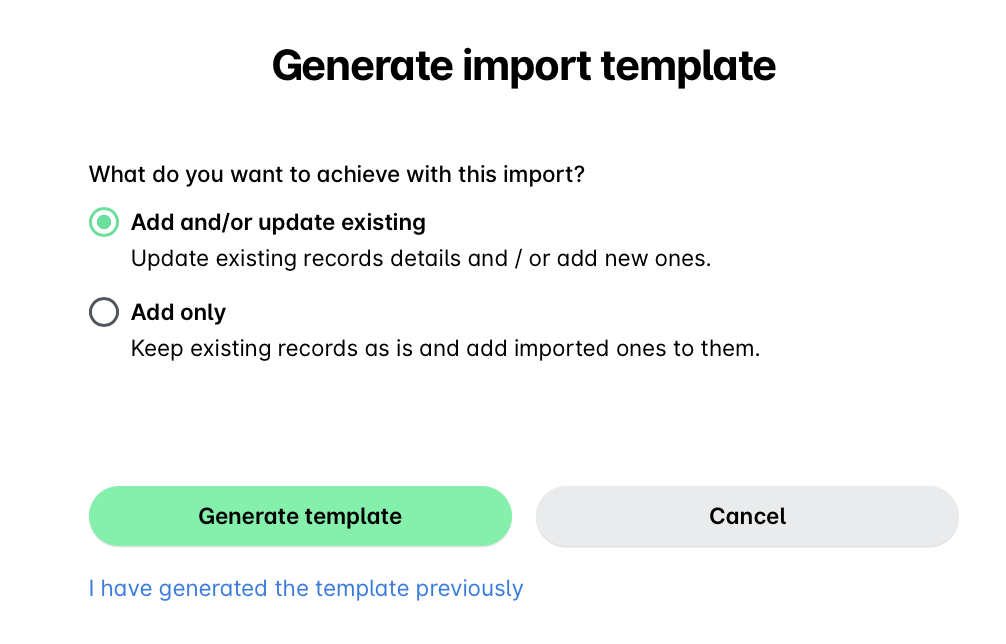
On the screen that opens, click on Generate template link to download the template Excel file. Enter your expense fields in the required format and save the file locally:
To keep your existing fields and/or add new ones from the file, select the Add and/or update existing option.
To keep your existing fields and only add imported ones to them, select the Add only option.
Go back to the Payhawk screen and click on the Click to upload link to upload your locally saved Excel file.
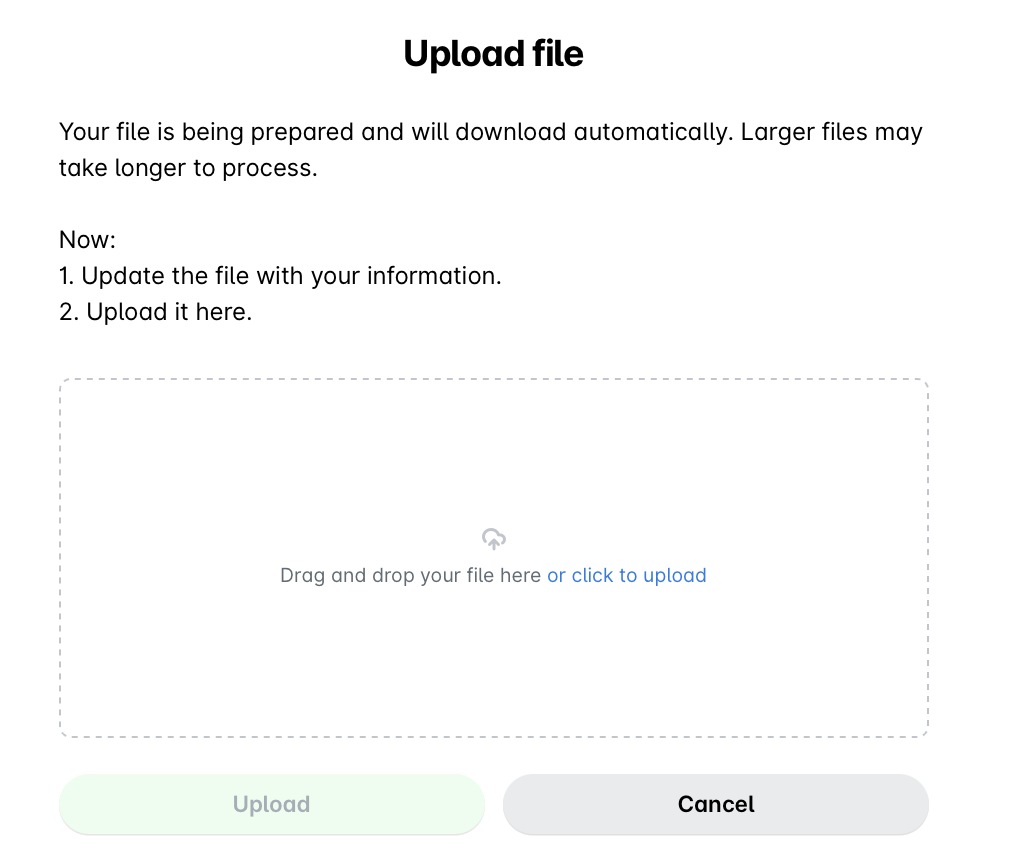
Click on Upload.
On the next screen, confirm your choice and click on Import.
Click on Done.
Bulk export of fields from Payhawk
To export your fields from Payhawk at once in an Excel format:
Log in to the Payhawk Web Portal.
Go to Dashboard > Settings > Fields library.
Click on Cost center.
Click on the three dots menu and select Import.
On the screen that opens, click on the Generate template link to download the template Excel file. As a result, the Excel file with the exported fields will automatically be downloaded locally on your machine.
The field data for an expense is embedded in the export file with the values that are present at the time when the expense is selected for export. Changes made to the custom field afterward will only be reflected if the updated field is re-selected for export.