Payhawk has rebuilt how you connect your HR system and bring your people into your account. Now, you can choose exactly which employees to sync, map your HR fields and values to Payhawk, and pick up the setup where you left off.
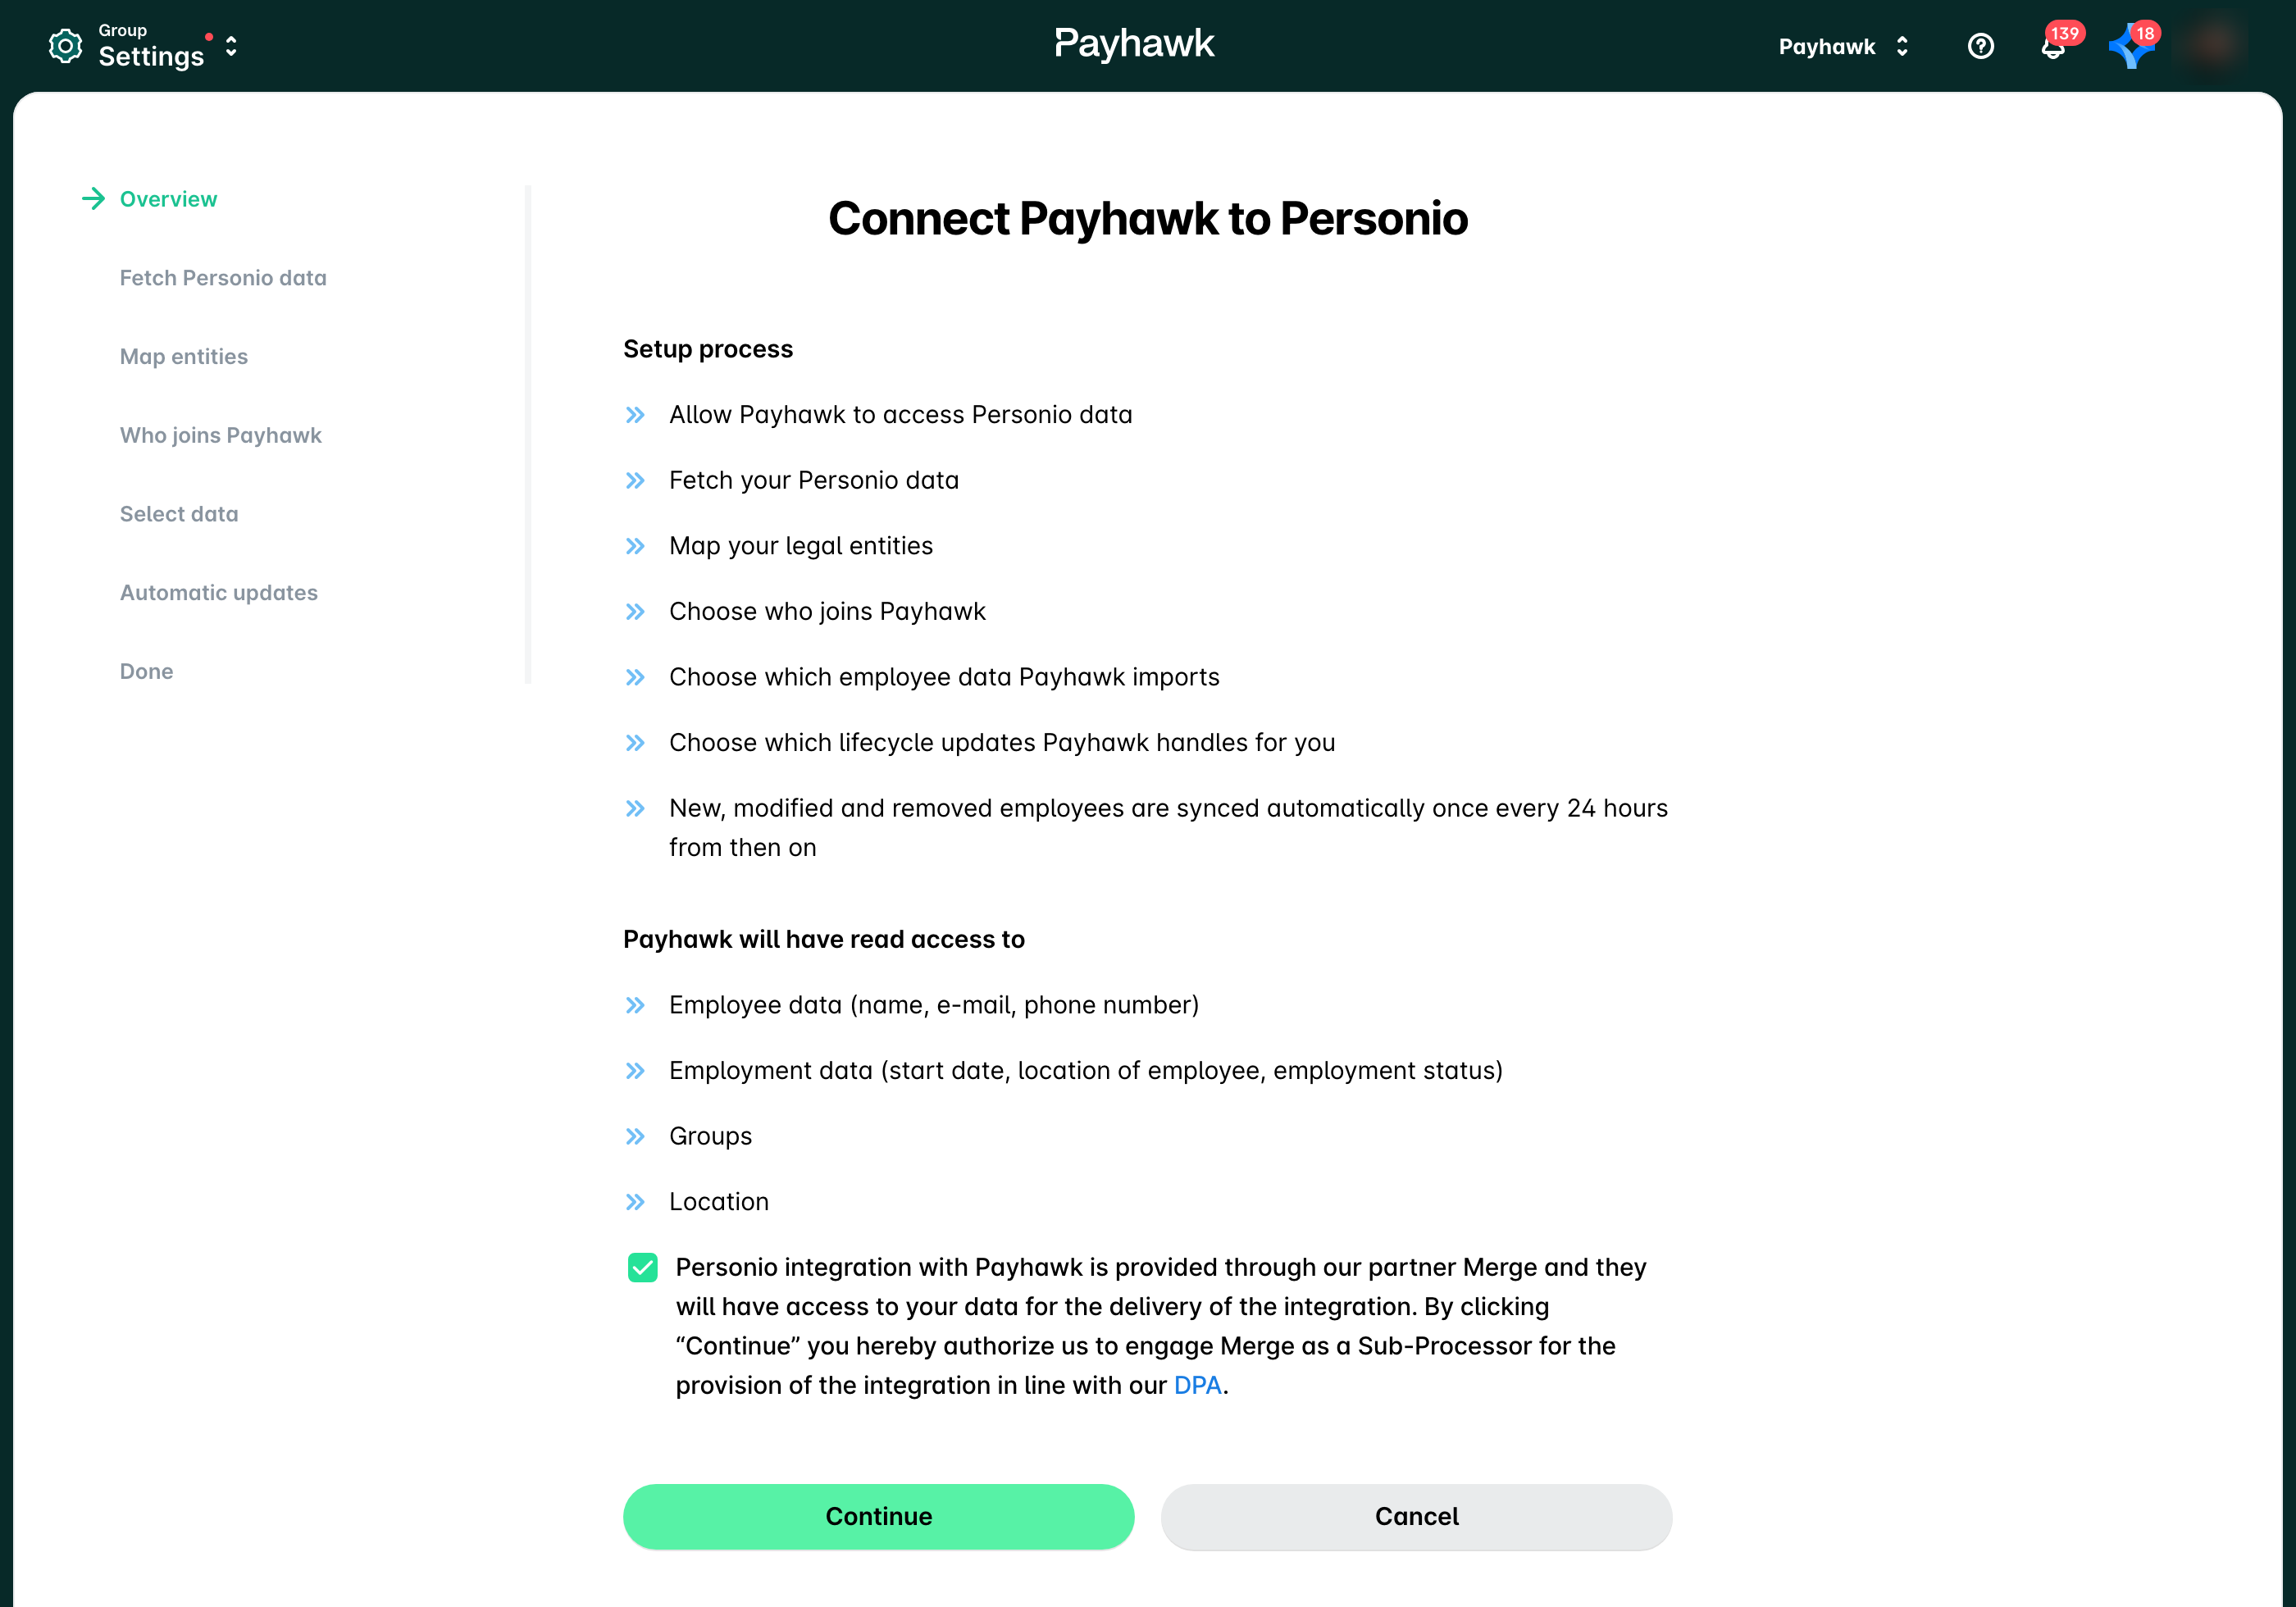
The new setup wizard is available in Payhawk Labs. Until it is released for everyone, the classic connection flow still applies to your account when the new experience is turned off.
Watch the walkthrough
This 3-minute video walks you through the new setup from start to finish.
Jump to any of the following steps:
0:14 – Turn on the new setup
0:22 – Connect your HR system (BambooHR in this example)
0:53 – Map additional fields
1:13 – Fetch employee data
1:18 – Map entities
1:35 – Choose who joins Payhawk
2:05 – Preview employee data
2:24 – Automatic updates
2:35 – Line Managers and the Org chart
3:10 – Line Managers in approvals
Employee syncing
Now, you can decide which employees are brought into Payhawk during the connection process, instead of syncing everyone by default.
Everyone who joins Payhawk starts in the Not invited status. They won't receive an invitation until you select them and send one.
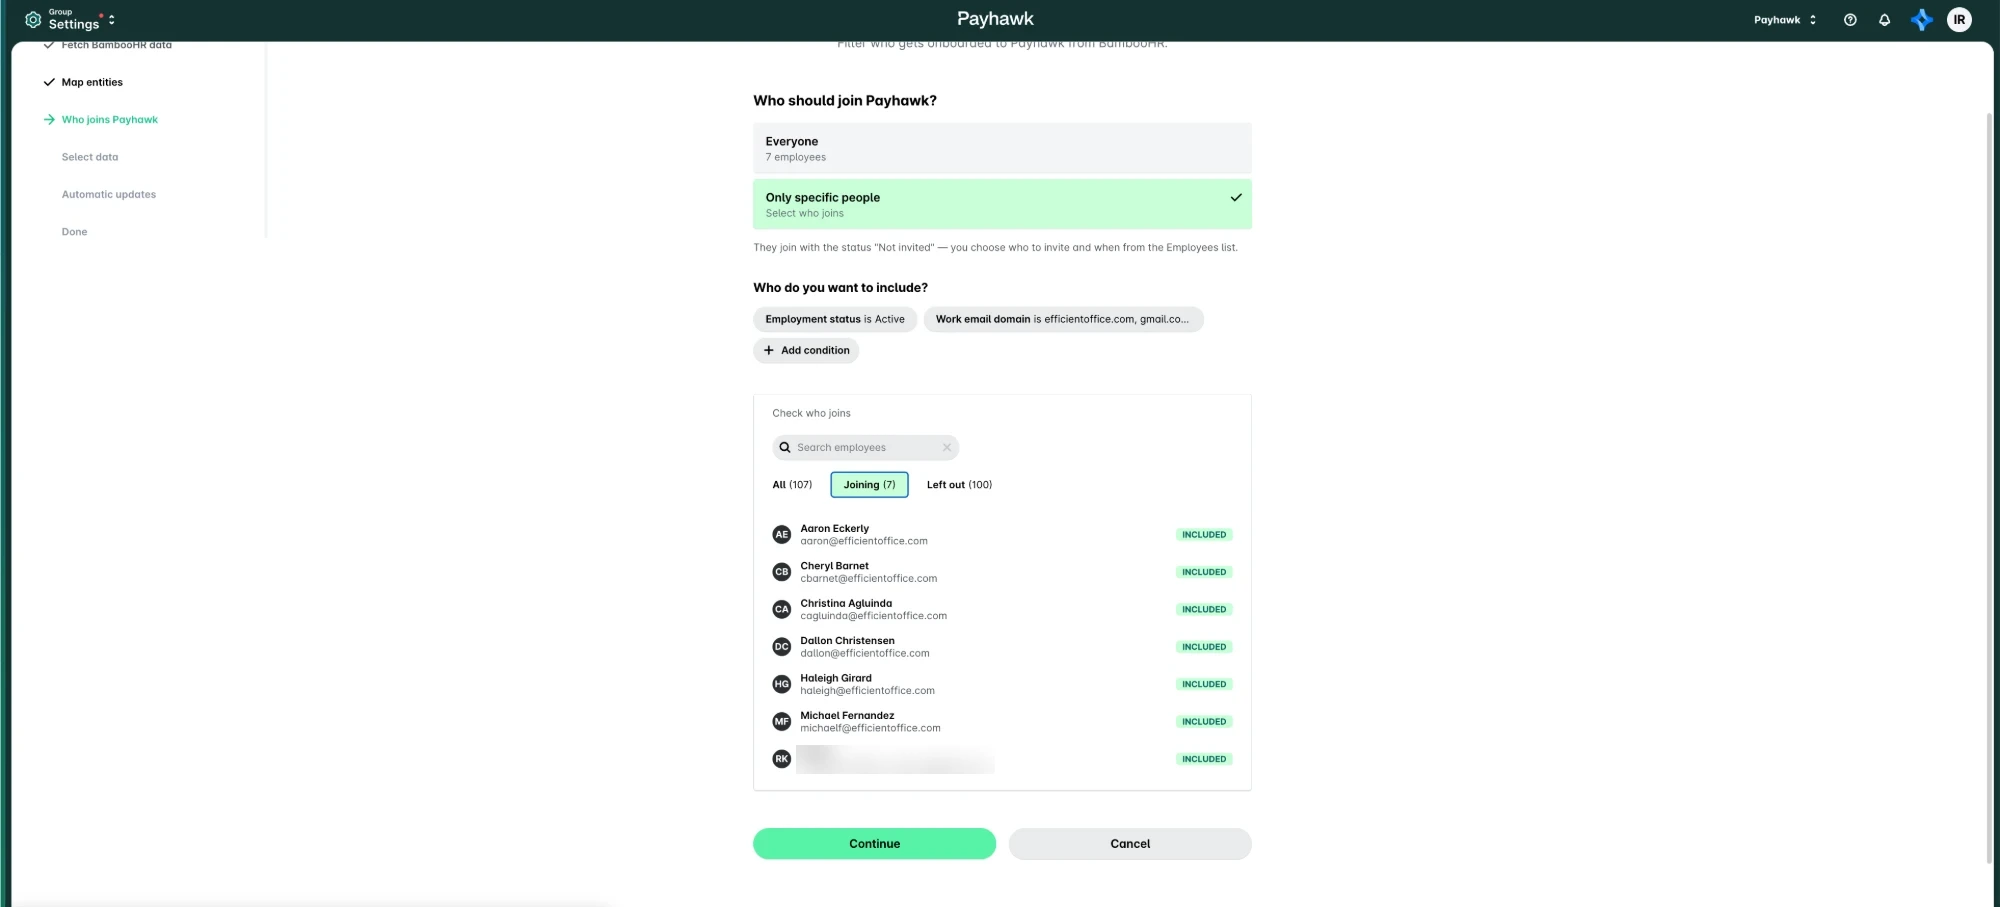
To choose who joins Payhawk:
In the Who joins Payhawk step, select Everyone, or select Only specific people to set conditions.
To start with the recommended conditions, select Include active on work email domains. This adds the conditions Employment status is Active and Work email domain is, with every email domain found in your HR system. Remove any personal email domains, such as gmail.com or outlook.com.
Add more conditions if you need them, for example a team or a custom field. An employee must match all conditions to join Payhawk.
Open Check who joins, compare the Joining count with the number you expect, and review the Left out list.
Keep in mind the following:
The Employment status is Active condition on its own also includes active contractors. To leave them out, add a work email domain condition or a custom field that marks the employment type.
You can use a field as a condition only if your HR system lets Payhawk read it. In Personio, select the attribute under Readable employee attributes in the API credentials.
If an employee stops matching the conditions, Payhawk removes them at the next sync.
Employees who are already in Payhawk when you connect aren't removed and their cards aren't blocked, even if they don't match the conditions.
Entity mapping
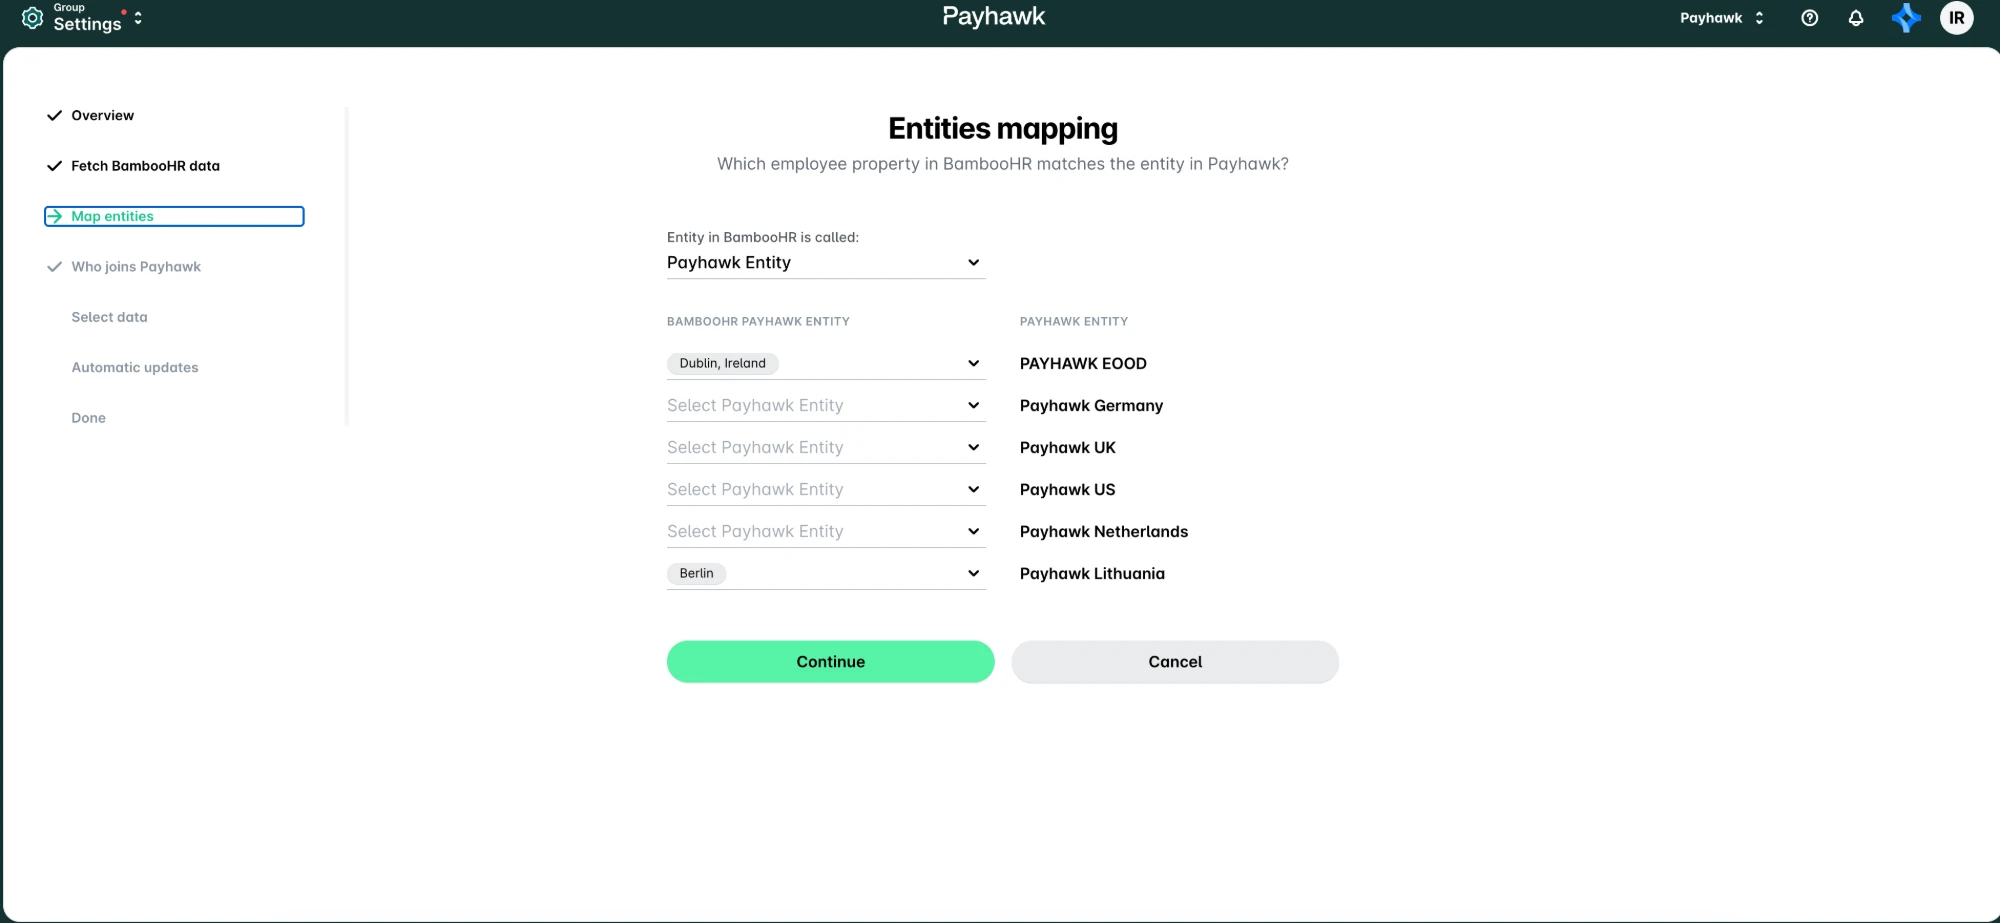
Now, Payhawk detects the information it already has collected so far about your entities and automatically suggests the matched entities between the two systems.
Automations
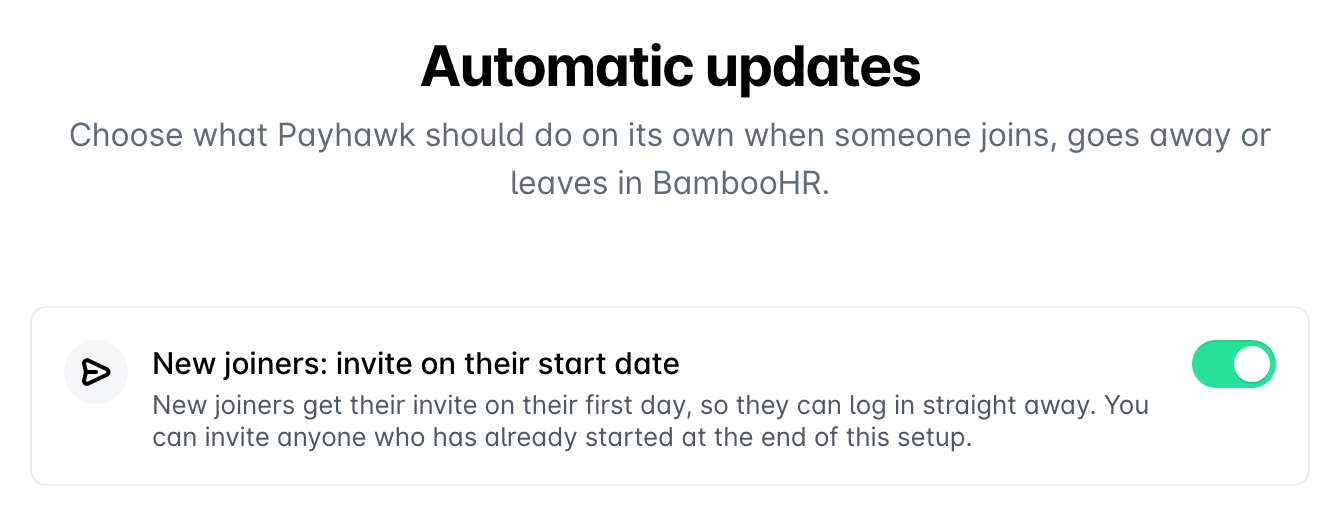
During the connection process and based on the extensive integration between your HR system and Payhawk, you can now automatically invite new employees who have been synced to Payhawk on their start date.
Resuming and finishing the setup
You can leave the setup at any point and finish it later. Payhawk will save your progress and return you to the step where you left off.
At the end of the connection process, Payhawk will let you know once your HR system is connected. You will be forwarded to the employee page when you click “Done”.
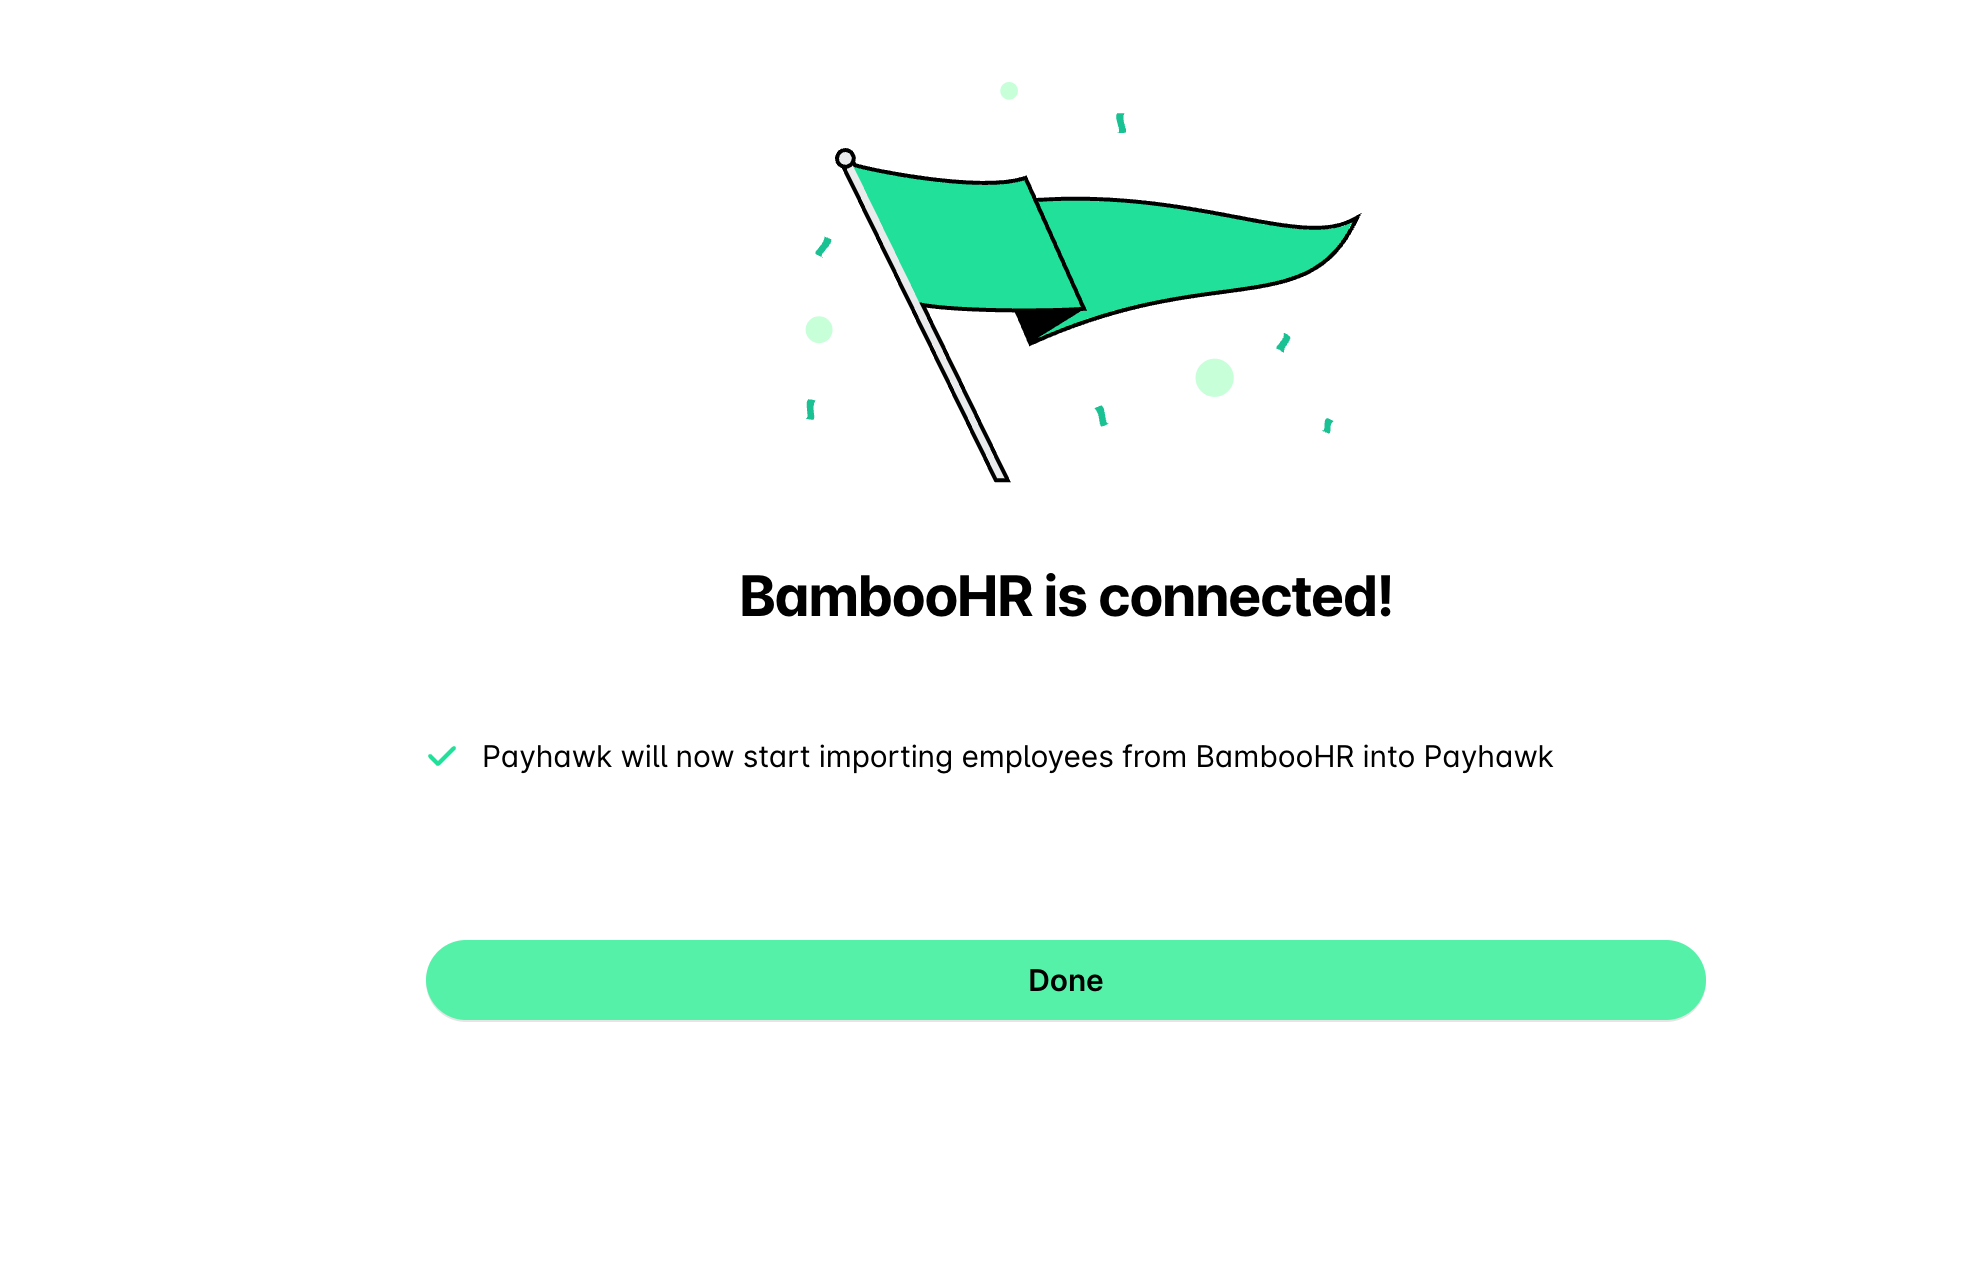
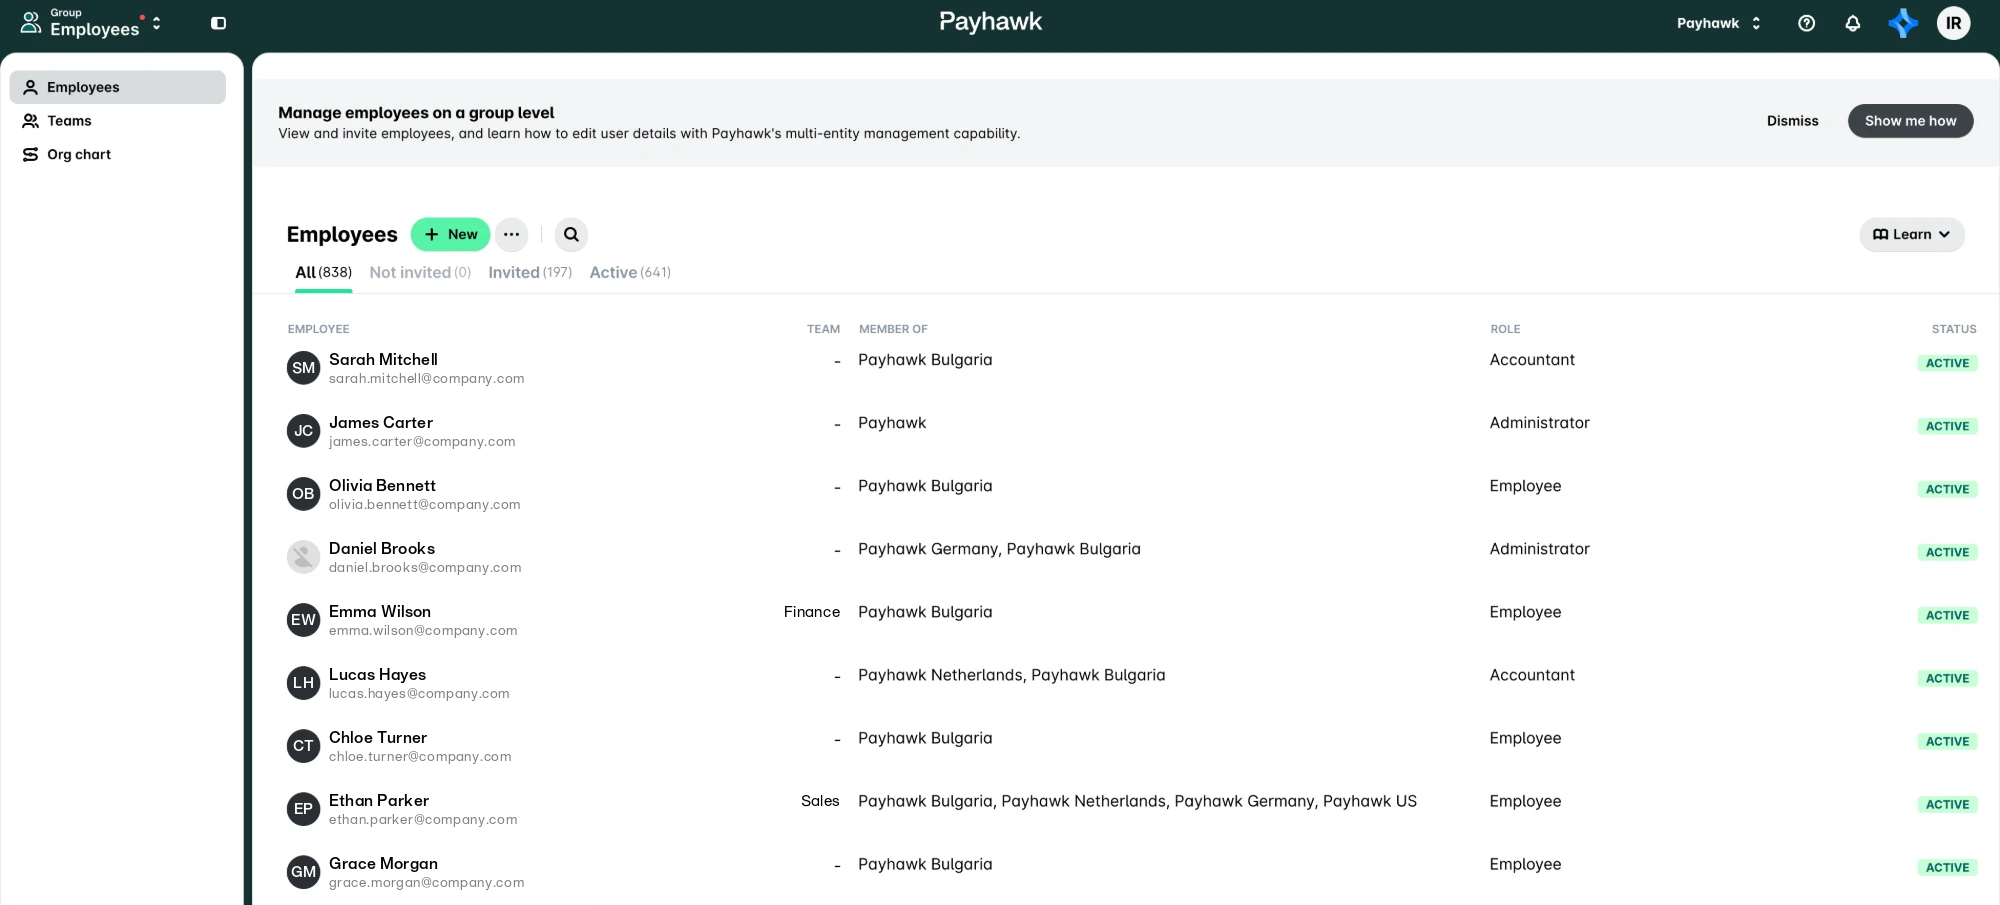
As a result, the Employees app will load and you can now review the synced employees and invite them.
Employee statuses
Because employees come in before they are invited, the Employees page shows the individual invite status for each:
Not invited - The employee is in Payhawk as a record and has not been invited yet. They have no access to the system.
To be invited - The employee is scheduled to be invited automatically on their start date.
Invited - The employee has received an invitation and has not activated their account yet.
Active - The employee has been invited, has activated their account, and can use Payhawk.
Line Managers
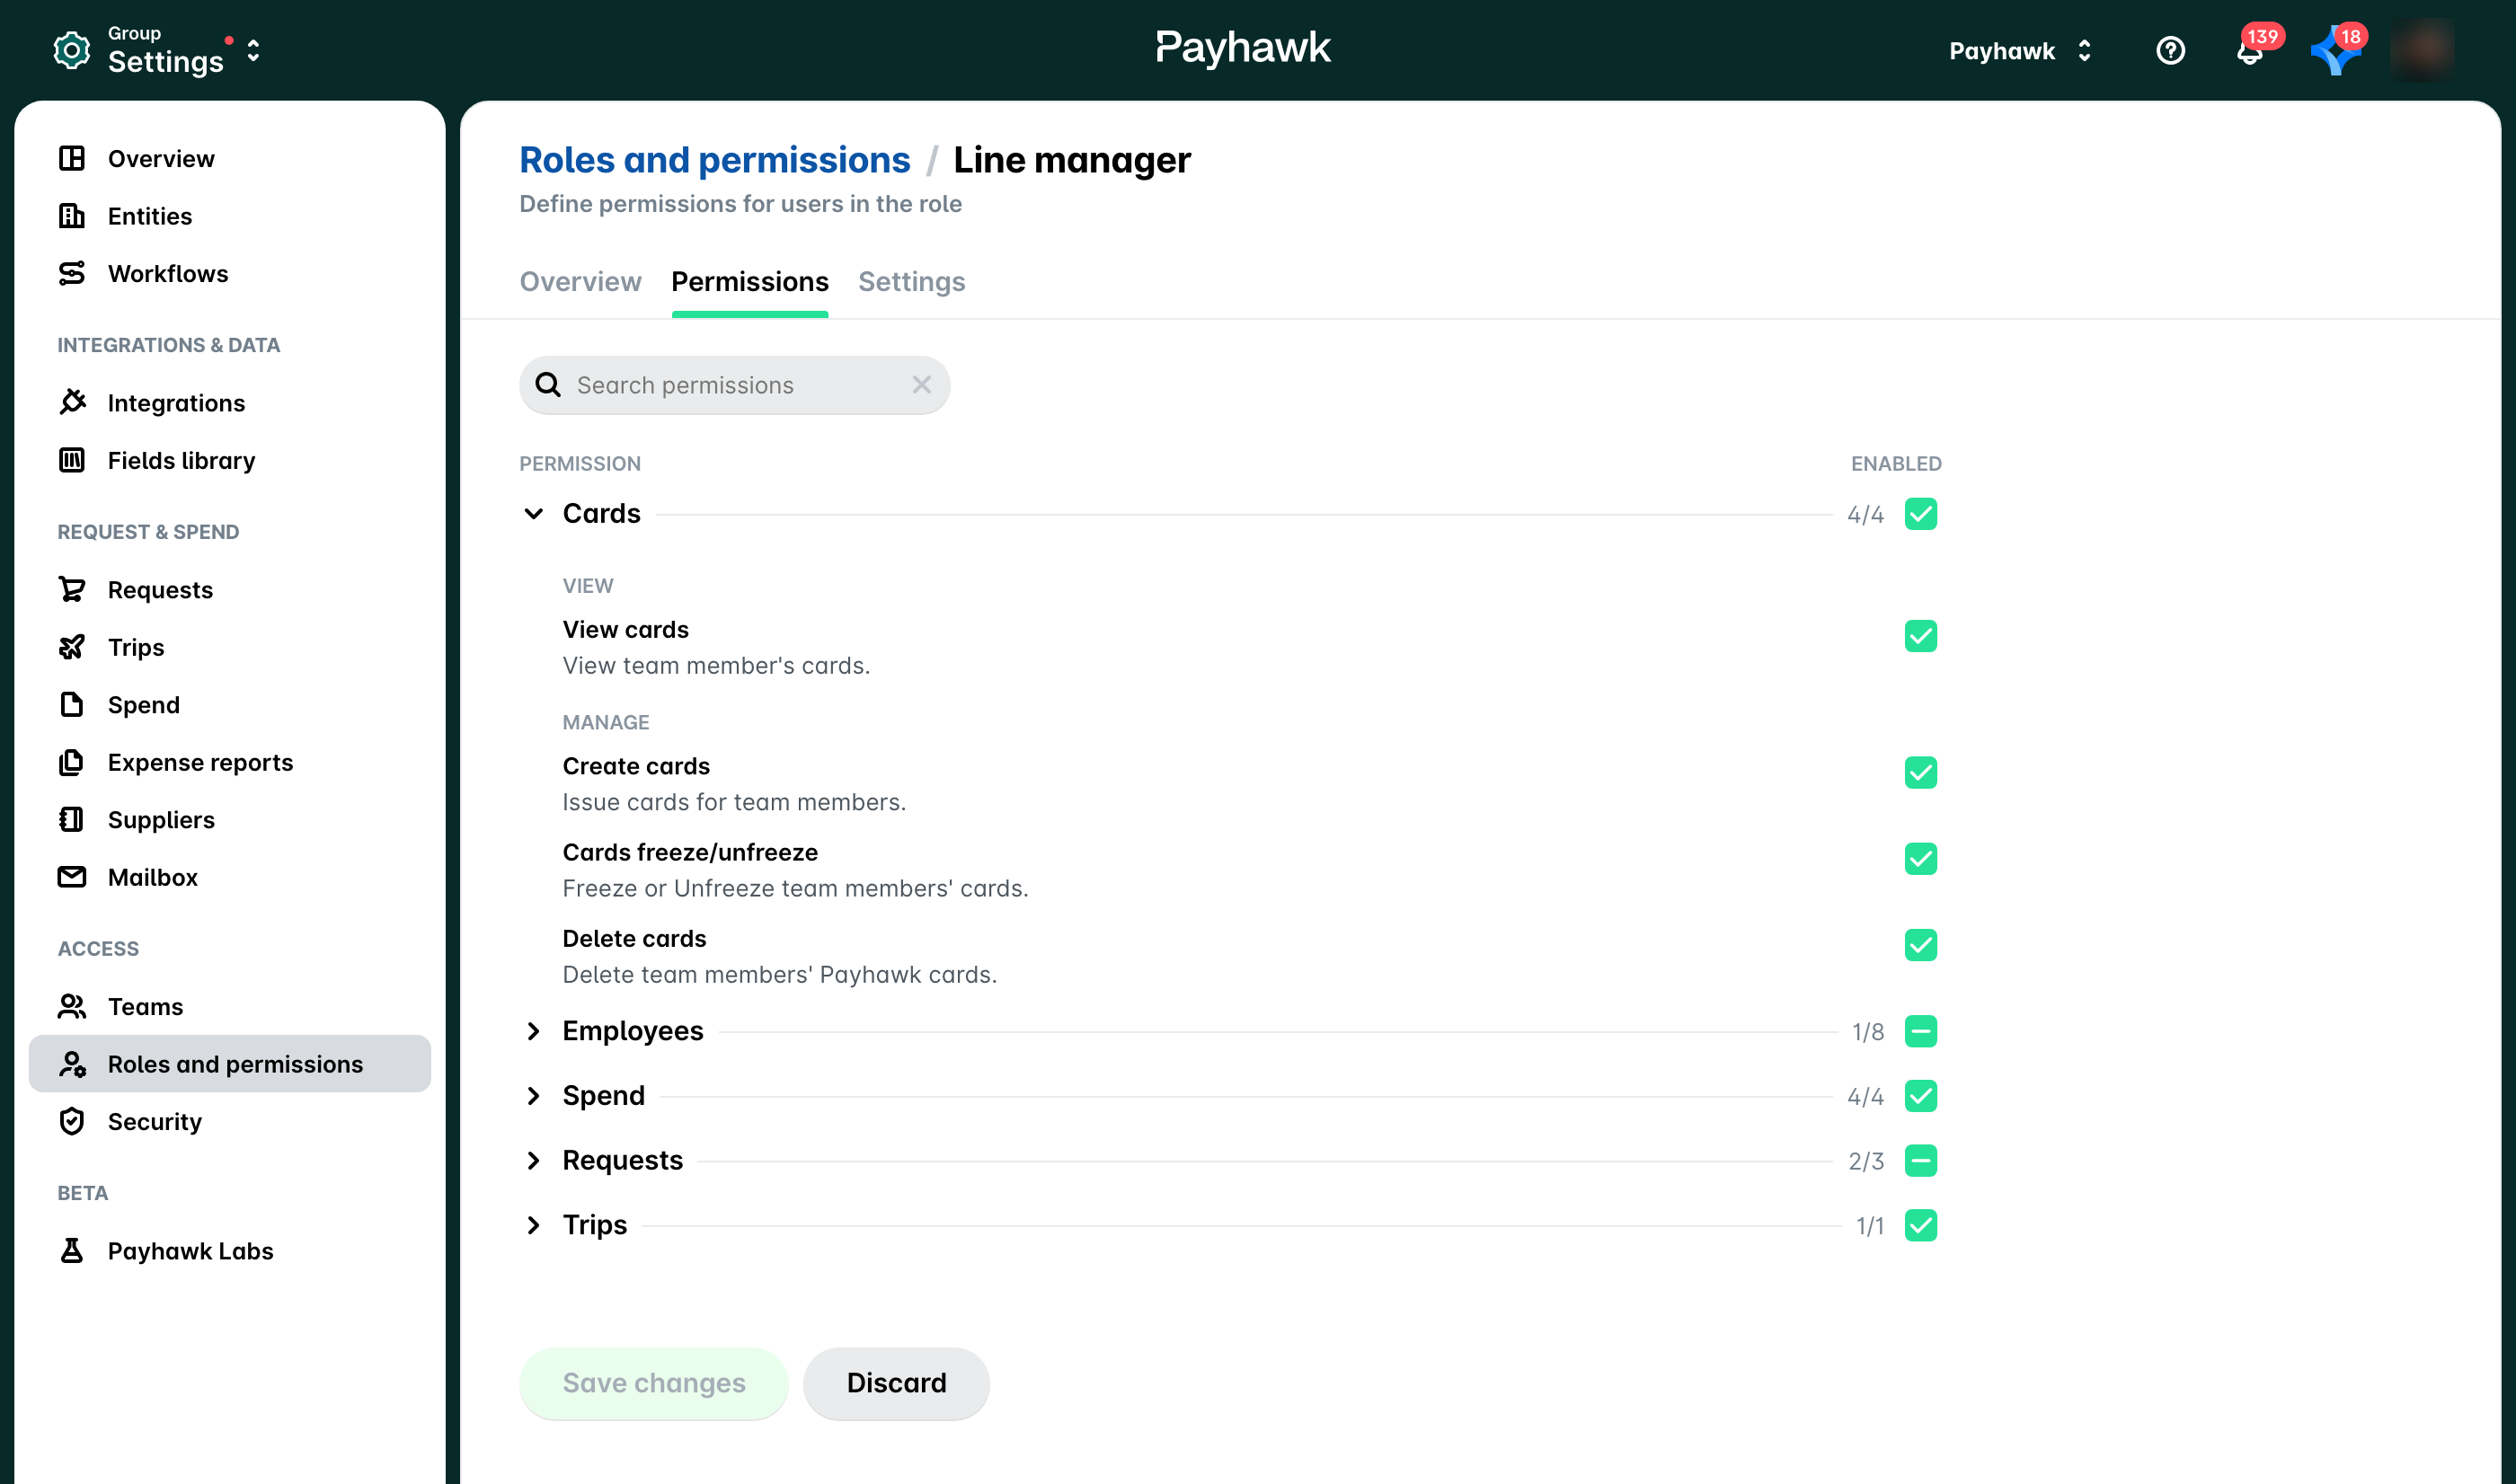
Payhawk introduces Line Managers, a way to link each employee directly to their manager. Each person can have one Line Manager, and a manager can have multiple direct reports. You can use Line Managers in workflows, and they have the same permissions as a Team Manager.
If you connect your HR system, Line Managers sync from it automatically. You can also assign them manually if you prefer a manual setup.
Org chart
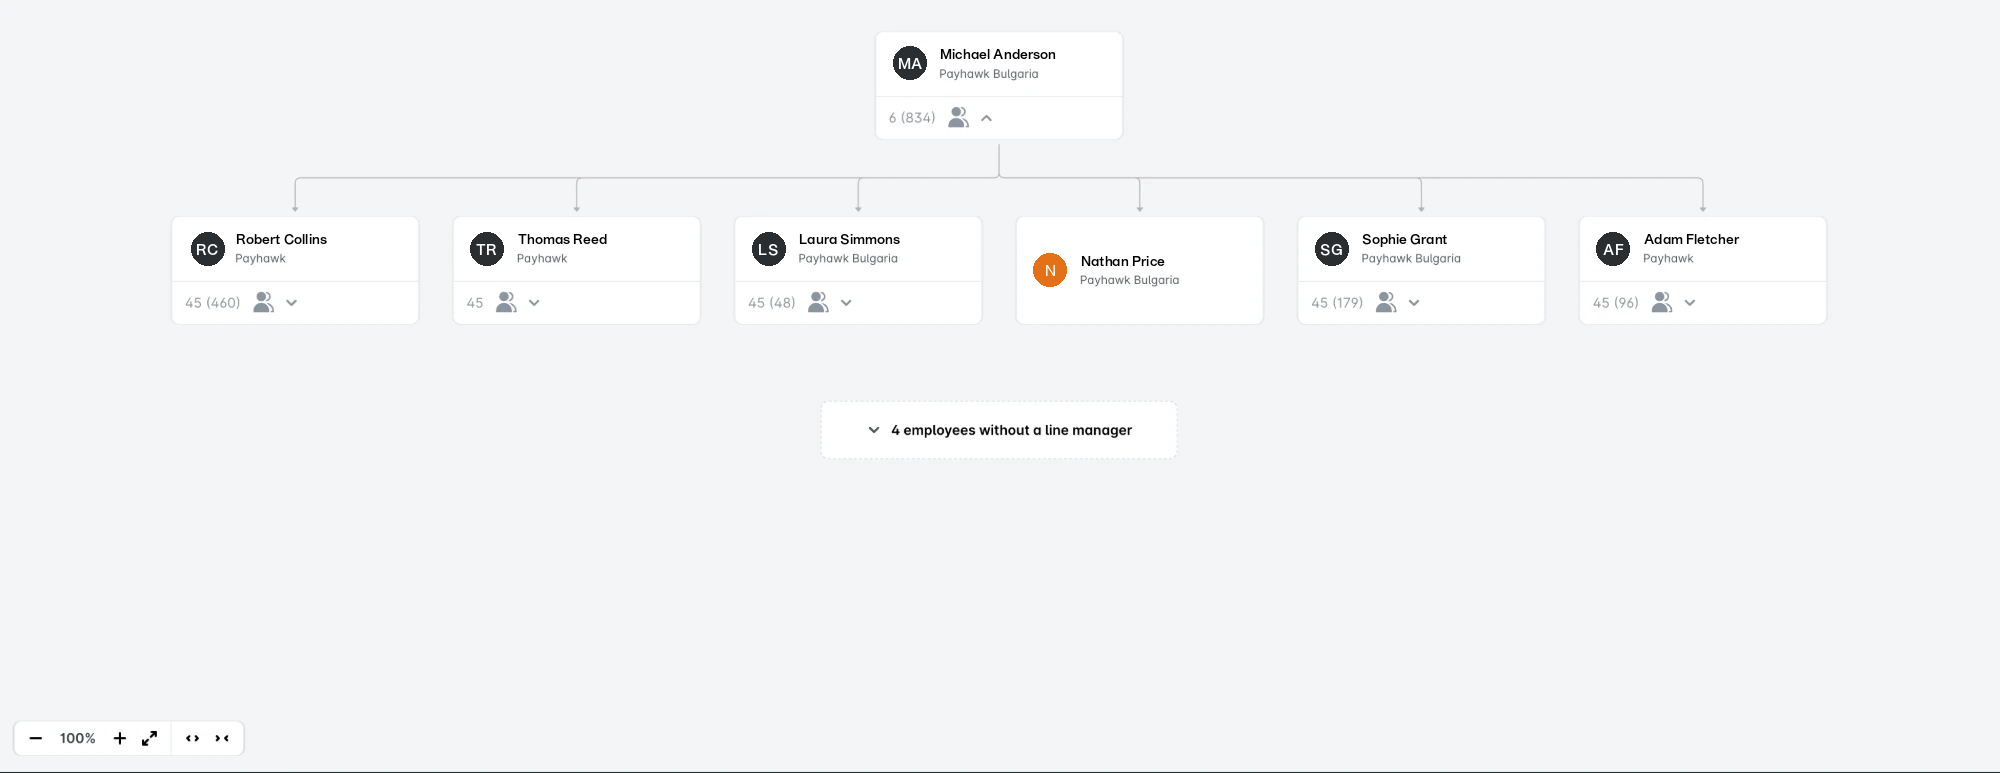
The Org chart is a new view in the Employees app, next to Teams, that shows how employees relate to their Line Managers.
Teams and the Org chart are independent. You can use either or both to build more complex approval structures.
Turning on and off the feature in Labs
If you turn off the Line Managers and Org chart features in Payhawk Labs:
Line Managers and the Org chart will be disabled.
You'll need to change your workflows back to their previous setup.
Employee filtering and automations will no longer be available.