In Payhawk, you can create fields and their values, which correspond to the requirements at your company. You can also configure and manage the default settings for fields and their values.
Fields allow you to collect specific information for expense reporting. Values provide predefined options that help standardize data entry across your company.
Creating and configuring fields
To create new fields:
In the Payhawk Web Portal, go to Settings > Fields library.
Click on the + New button.
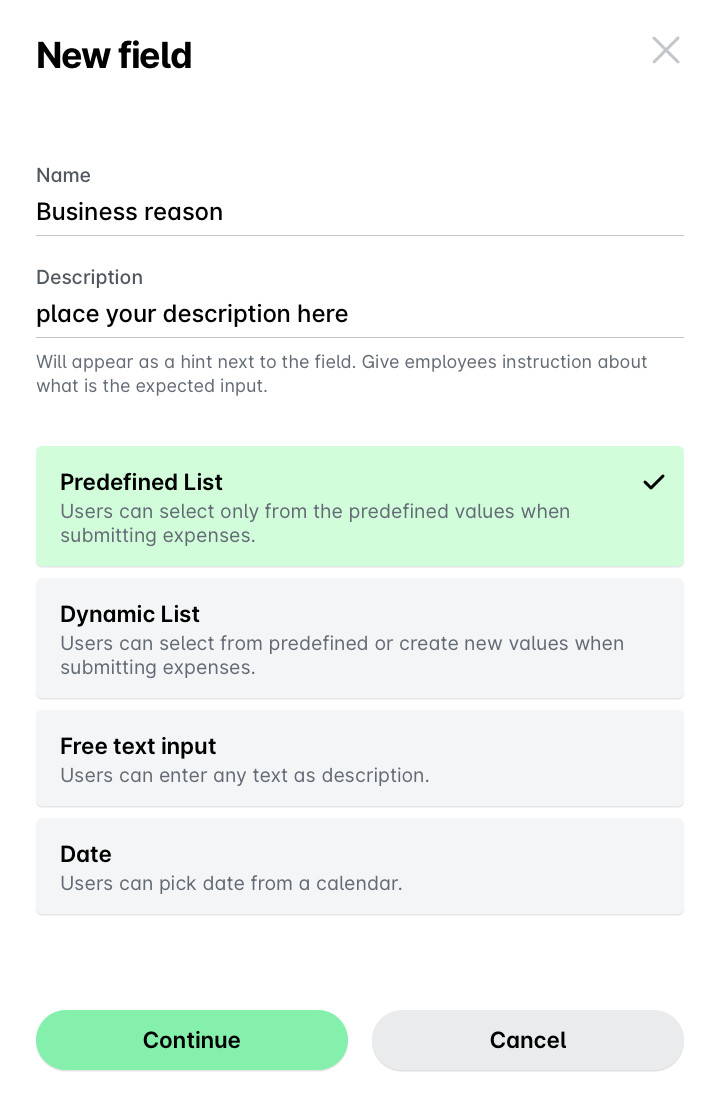
In the New custom field dialog that opens:
Enter a name for the field.
Enter a description for the field to guide users with additional context.
Select a type for the field from the list:
The Predefined list field type allows users to select a single option from a list.
The Dynamic list field type allows users to select from predefined options or provide a new one.
The Date field type allows users to choose a date from a calendar.
The Text field type allows users to enter a brief response.
Click on Continue.
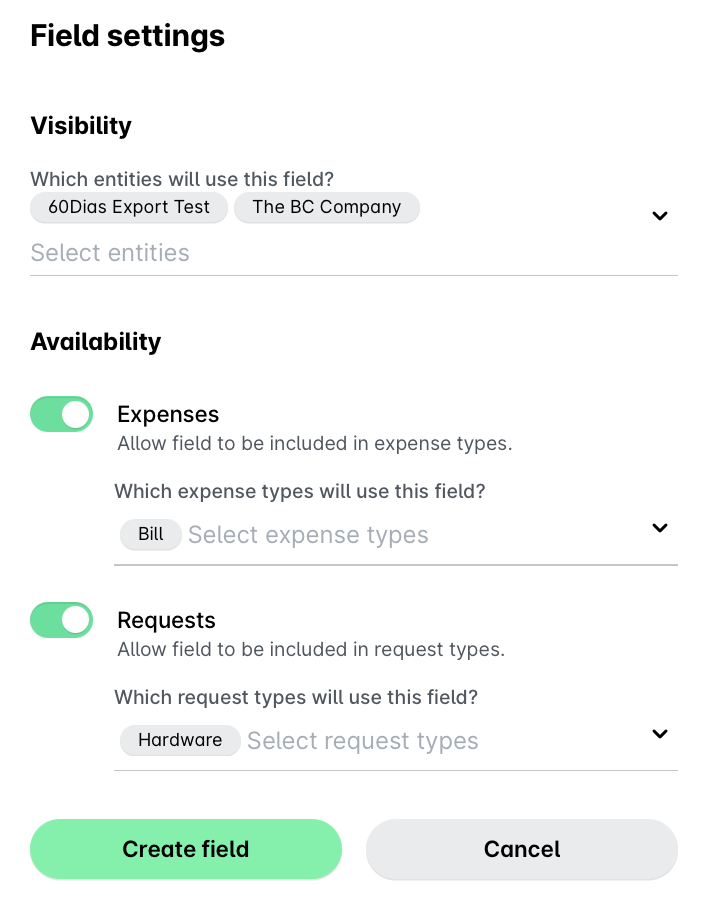
In the Field settings dialog that opens:
Under Visibility, from the drop-down list, choose which entities can use this field.
Under Availability, choose for which types of transactions the field will be used:
Switch on the Expenses toggle to allow this field to be included in expense types and choose for which expense types, for example, Bill and Card payments, from the drop-down list.
Switch on the Requests toggle to allow this field to be included in request types and choose for which request types, for example, Hardware and Software, from the drop-down list.
Click on Create field.
When creating new fields in the Fields library, the fields Availability you define can no longer be edited from the Fields library. To edit the fields Availability further, do so from the respective expense or request type.
Creating and configuring fields values
To create new values:
In the Payhawk Web Portal, go to Settings > Fields library.
Select the desired field by clicking on it, for example, Cost center.
Navigate to its Values tab and click on + Add value.
In the dialog that opens:
Enter a name for the value.
Select the parent value from the drop-down list, if you want to create a sub-category value; otherwise, leave blank.
Under Visibility, from the drop-down list:
Choose which entities will use this value.
Choose which teams, users or roles will use this value.
Choose Conditional display rule, if the value must be visible only if the certain values in another field are selected.
Click on Add value.
