Payhawk supports direct integration with Rillet and provides you with the flexibility to effortlessly export and sync your expenses between the two systems.
For more information, go to the article about exported data between Payhawk and Rillet.
Initial interaction between Payhawk and Rillet
By connecting to your Rillet subsidiary, you allow Payhawk to perform the following:
Sync your Bank accounts, Chart of accounts, Tax rates, Suppliers, Custom fields, Currencies, and Subsidiaries, and refresh them on a recurring basis.
Push to Rillet the new suppliers that you create in Payhawk.
Automatically push expenses and payments in real time.
Before you begin
To connect the two systems, you need:
An Administrator or IT Administrator role in Payhawk.
Access to your organization's Rillet account.
A Rillet API key. To generate one, in Rillet, go to Org Settings > API Access. The key doesn't expire, so the connection stays active until you revoke the key.
Connecting to Rillet
To connect your Payhawk account to Rillet, follow the steps:
In the Payhawk Web Portal, go to Settings > Integrations tab.
Under Available integrations, find Rillet and click on Connect.
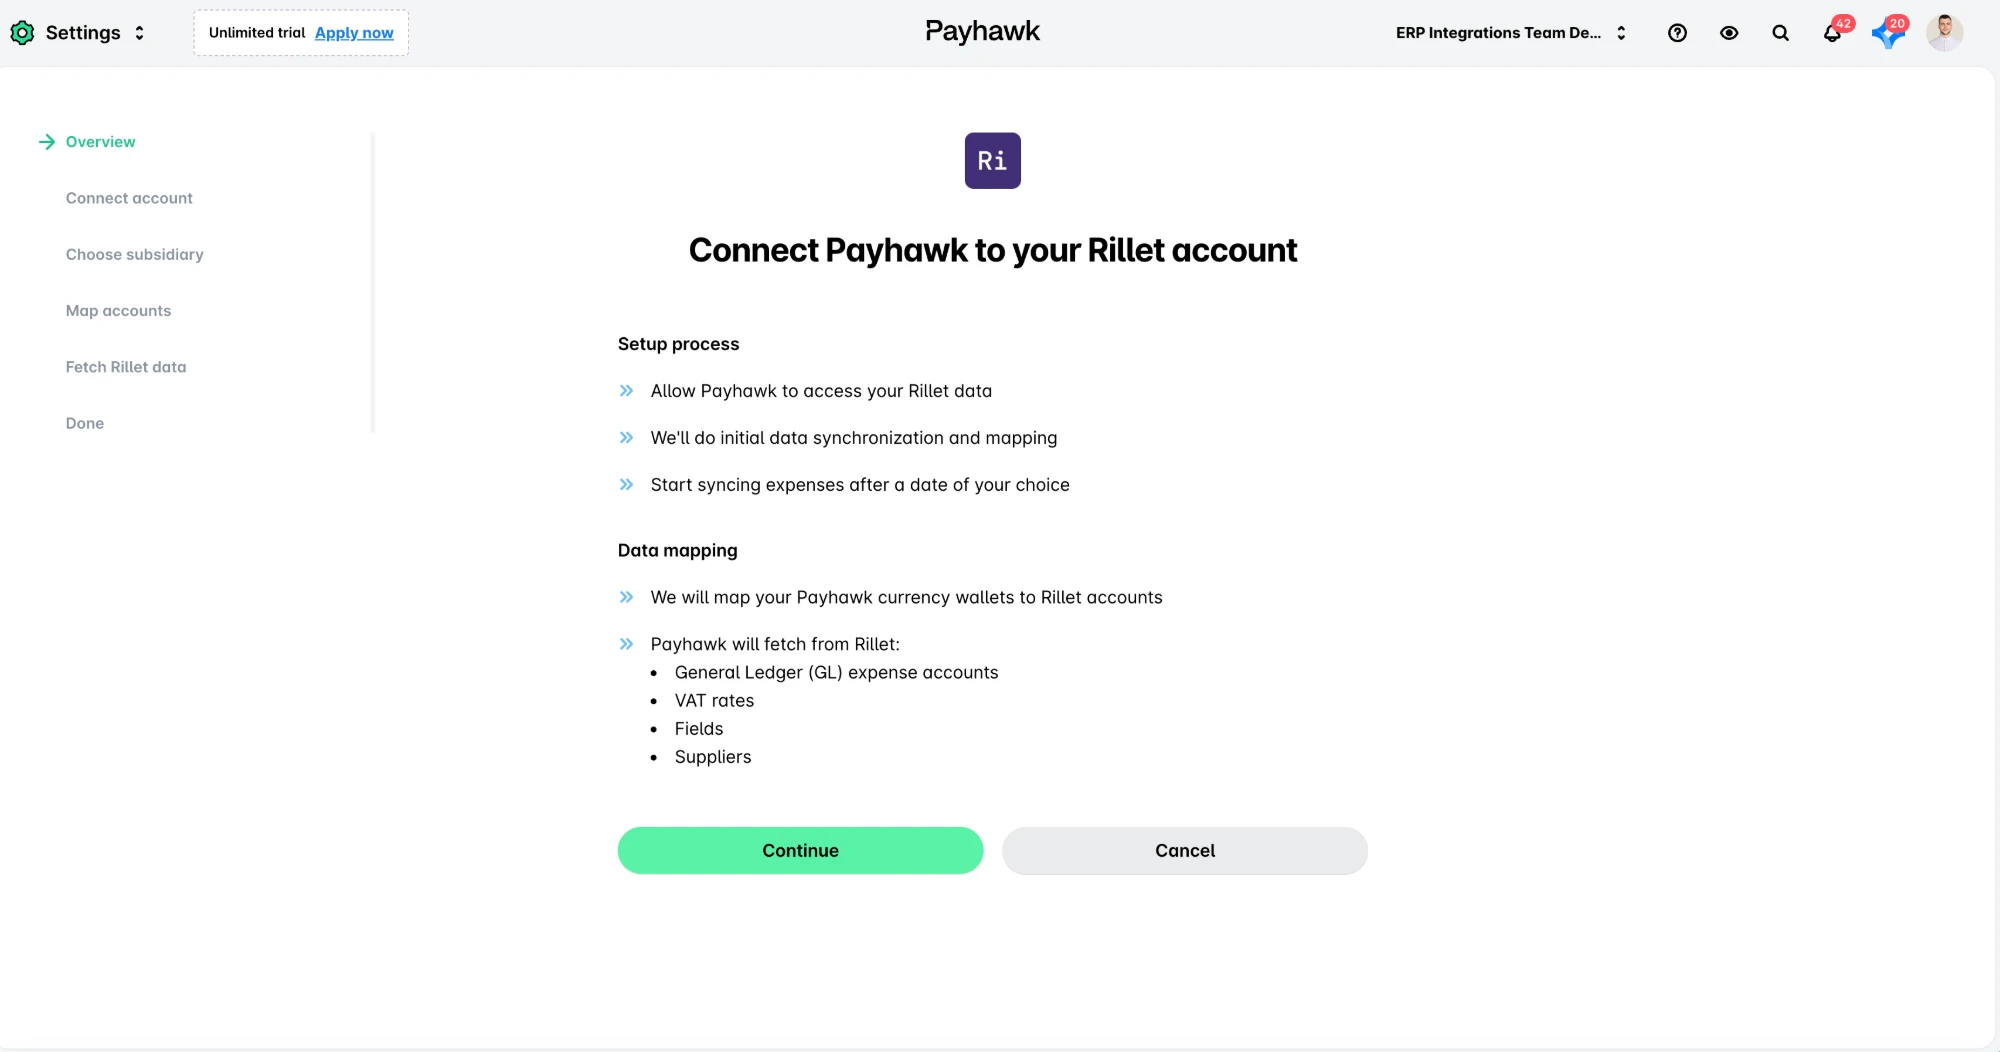
On the next screen, click on Continue.
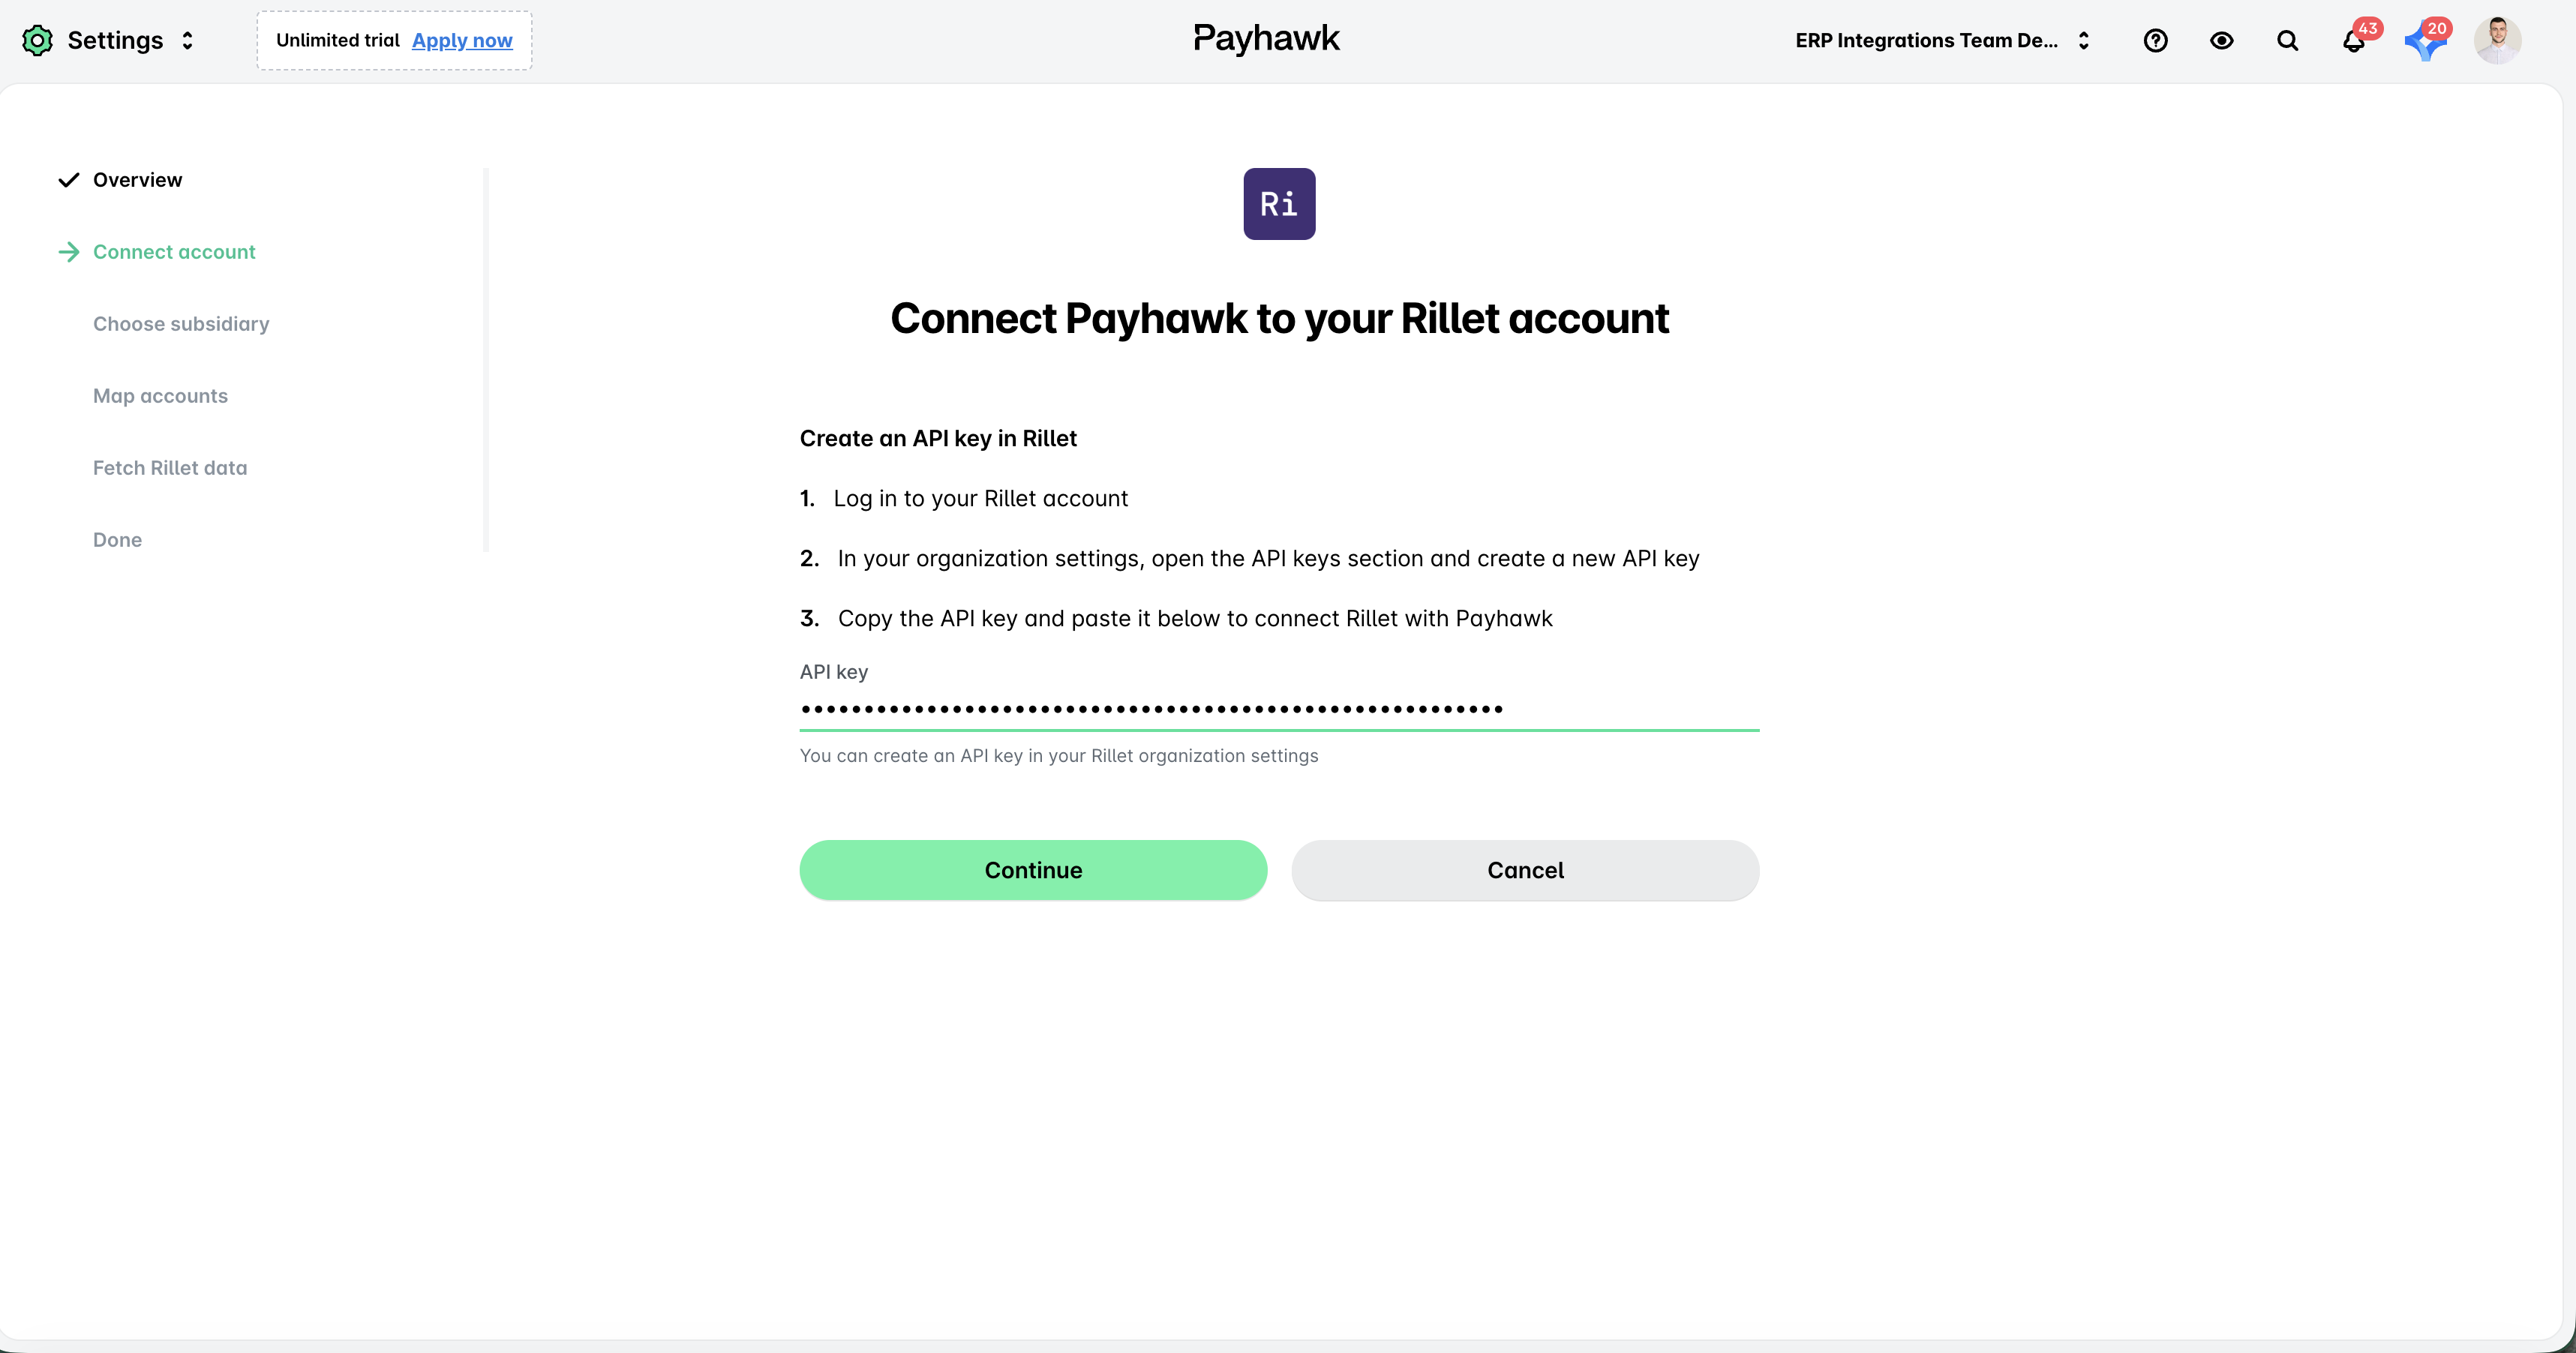
On the next screen, paste your Rillet API key and click on Continue.
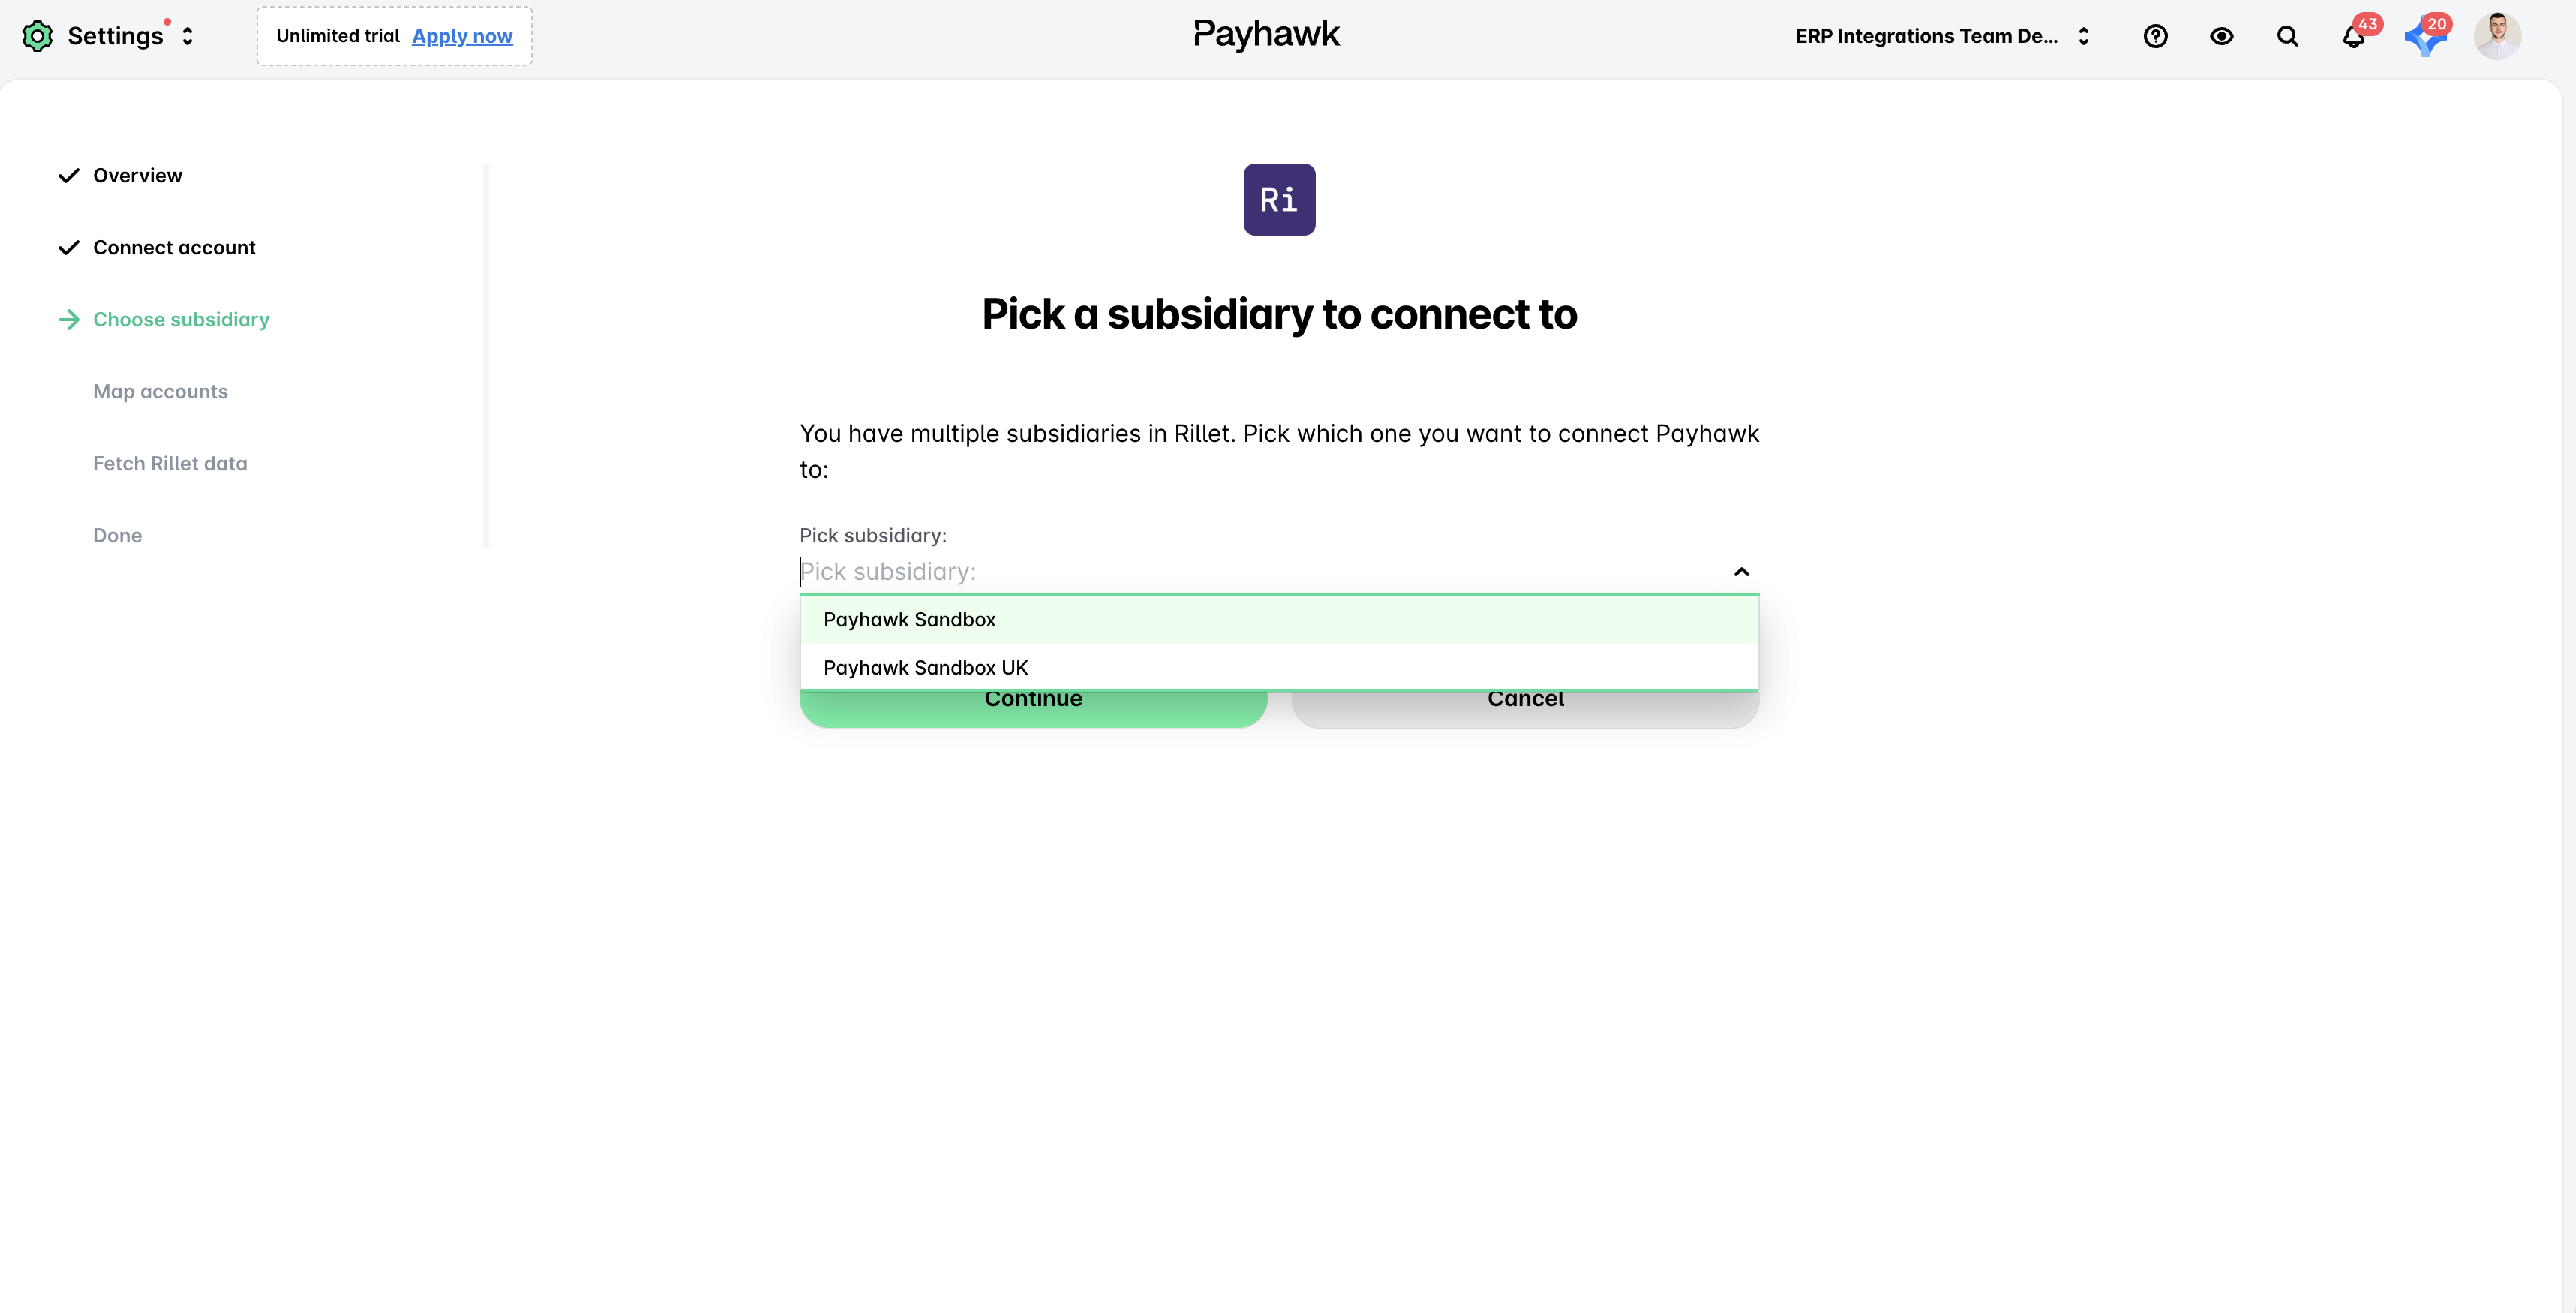
On the next screen, from the drop-down menu select the subsidiary to which you want to connect, and click on Continue.
Make sure that each Payhawk entity is mapped to its matching Rillet subsidiary.
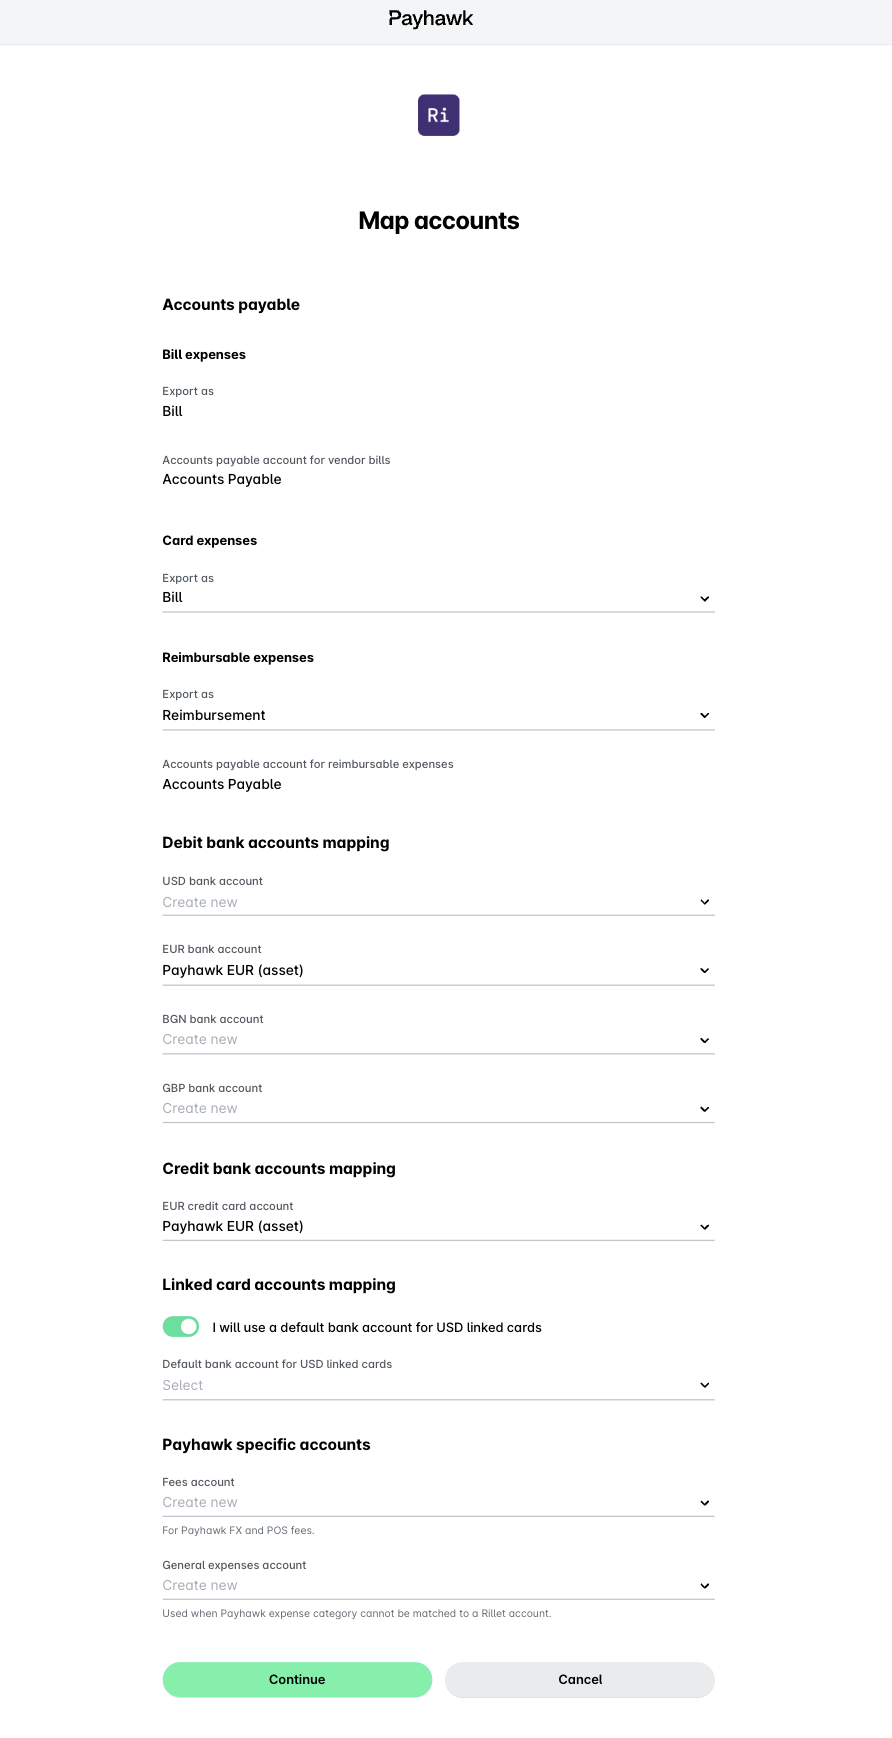
In the next dialog, configure the export preferences and the Payhawk specific accounts settings. Click on Continue.
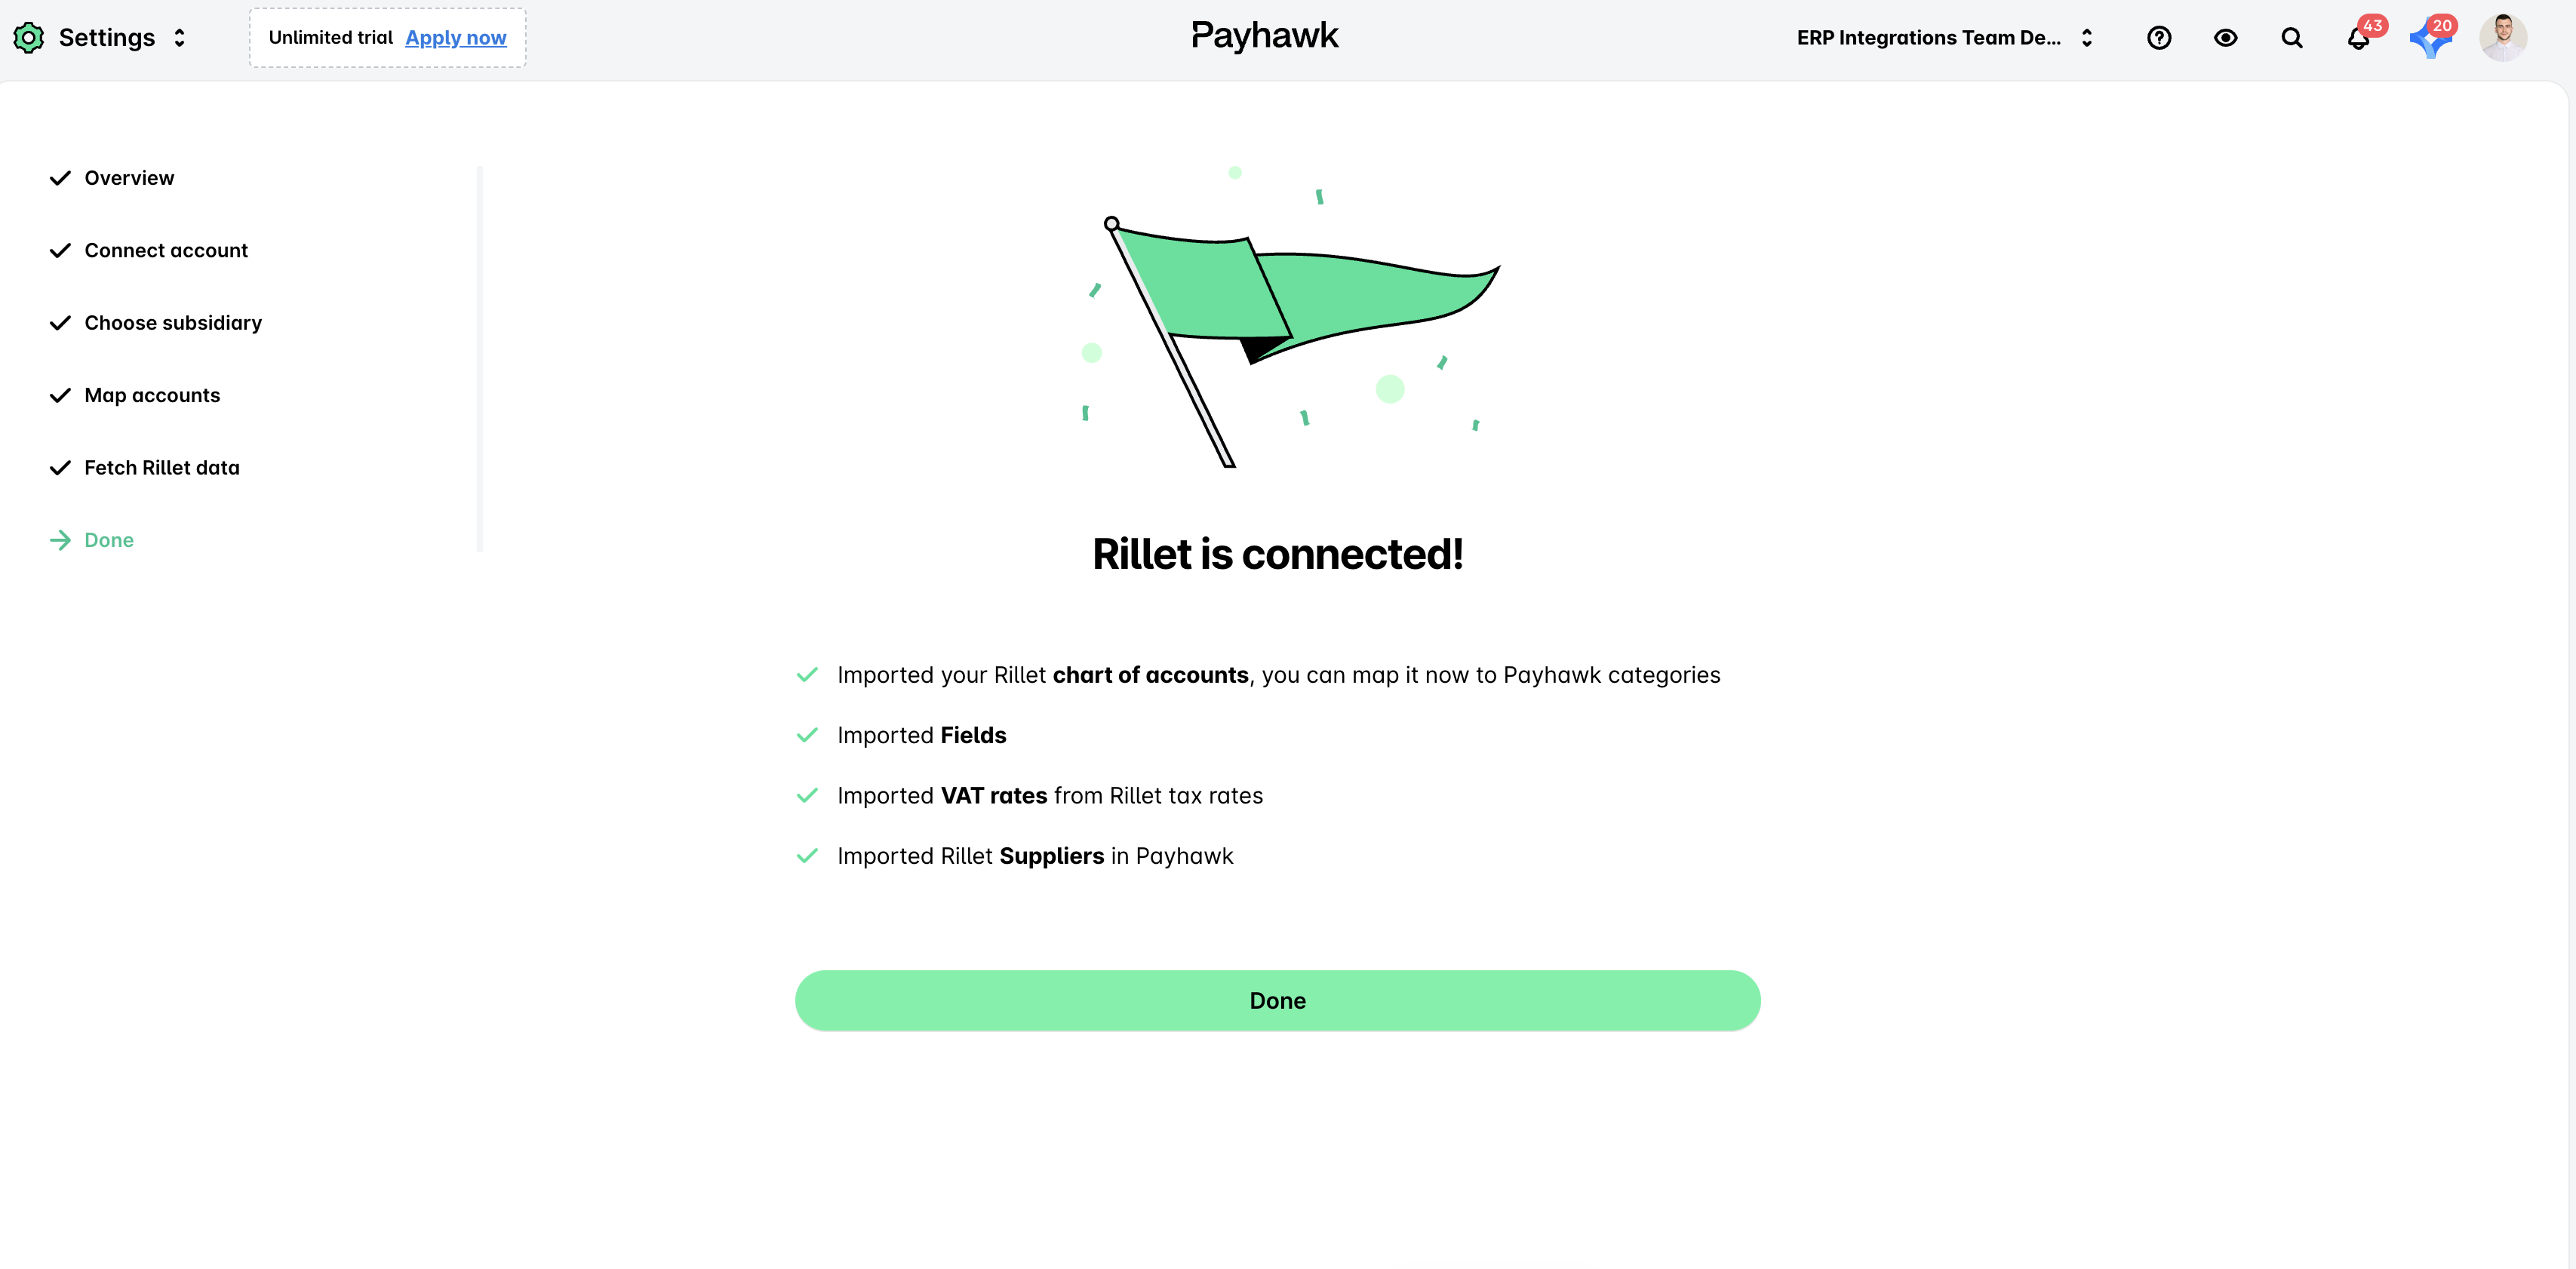
The Payhawk system will automatically fetch the Rillet data. The first sync can take a few minutes. After the data process has finished, click on Done.
Notes on configuration
The integration setup from the last time Payhawk and your accounting system were connected will be automatically re-applied the next time you connect.
You can edit the current integration setup without disconnecting from your accounting system. In Payhawk, go to Settings > Integrations, click on the three-dots menu of the desired ERP system, and select Edit configuration.